🌊
Gutter
- Installation & Repair
- Gutter Cleaning
- Re-alignment
- Fascia Rebuild
Learn More
Auckland's trusted team for Gutter & Spouting, Roofing, Home Renovation, Painting, Deck & Fence, and Civil Construction — quality repairs, upgrades and builds from one registered building company.
We respond within 24 hours
Comprehensive construction and home improvement services across Auckland — quality work, every time.

My Homes Construct Ltd delivers roofing, guttering, renovation, painting, decking, fencing and civil construction across every Auckland region. Browse all service areas →
Trusted gutter specialists serving all Auckland
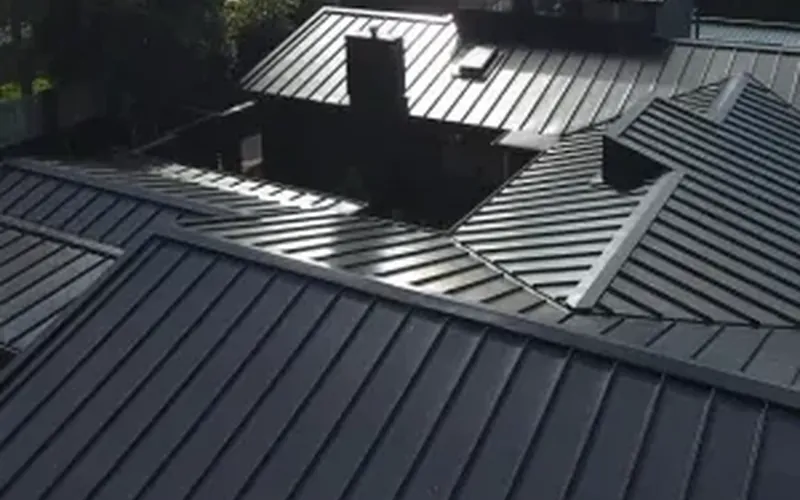
Registered building company roofers, 10+ years experience
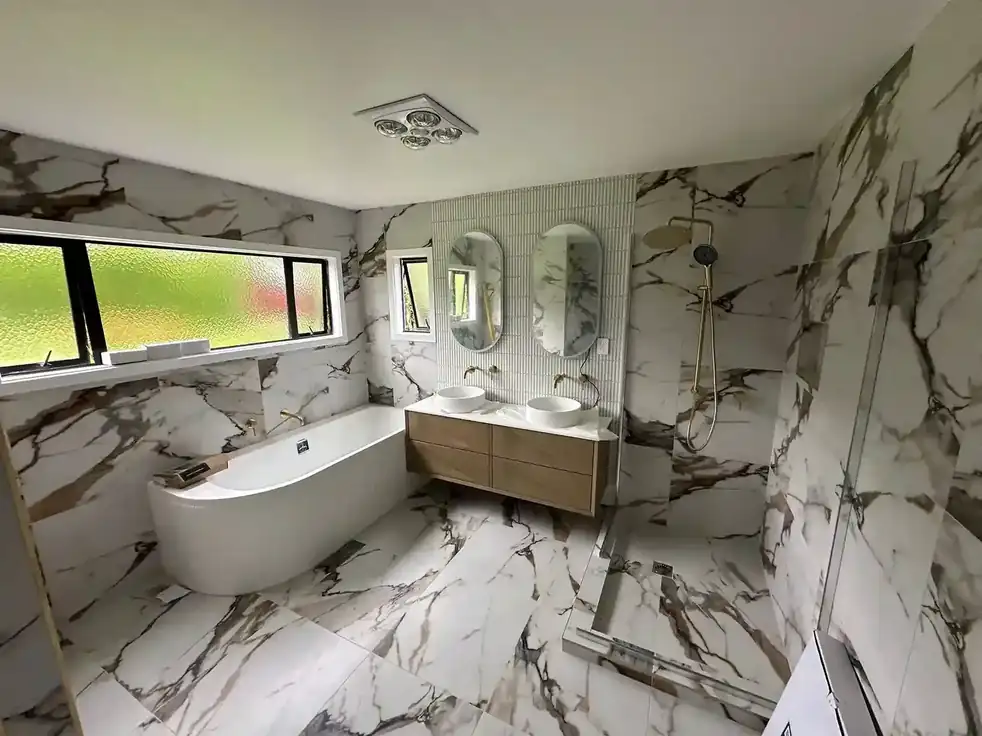
Full home, kitchen & bathroom renovations
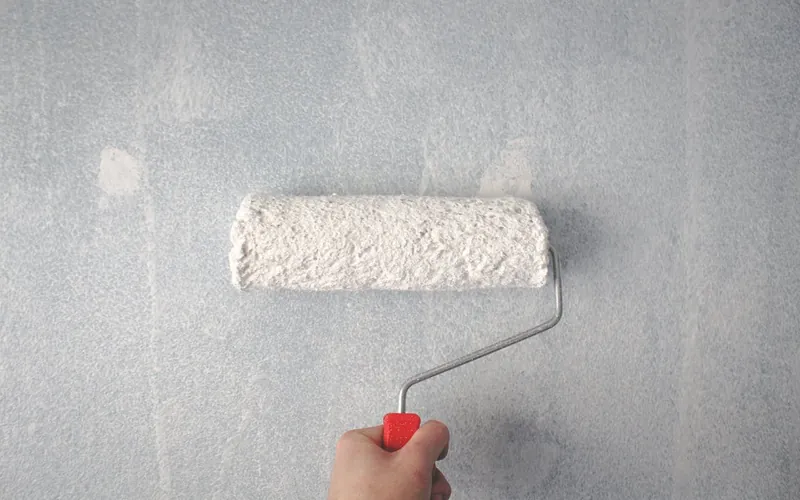
Interior & exterior painting specialists
New decks, fences, pergolas & outdoor structures
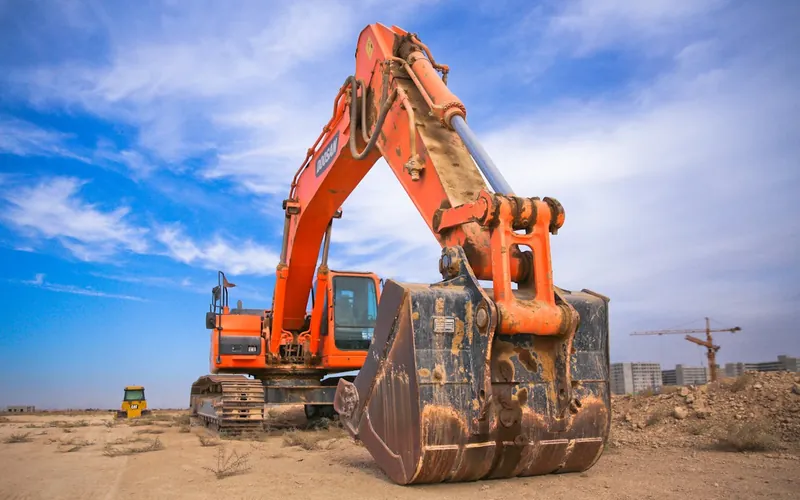
Driveways, excavation & earthworks
We're not just contractors — we're your partners in transforming your home into the space you've always dreamed of. Every project, big or small, gets our full attention.
Superior quality on every project using the best materials and proven techniques.
We respect your time and commit to deadlines, keeping you updated throughout.
No hidden fees — detailed, transparent quotes before we start any work.
A professional registered building company delivering quality results — for complete peace of mind.
Your satisfaction is our priority. We work until you're completely happy.
A decade of expertise across Auckland means we've seen and solved it all.
We've streamlined every project to be as stress-free as possible — from your first call to the final clean-up across all Auckland suburbs.
Call, email or fill in our online form. We discuss your home improvement needs and arrange a convenient time for your free on-site inspection — no obligation, no pressure.
Our experienced team visits your Auckland property, thoroughly assesses the scope of work, and identifies the best solutions tailored to your home and budget.
You receive a clear, itemised written quote with no hidden costs — covering all materials, labour, timeline, and warranty terms. No surprises, ever.
Our registered building company team completes your project to the highest NZ standard — on time, on budget, with a thorough clean-up every day and a workmanship warranty as per your quotation on completion.
Projects Completed
Satisfied Clients
Years Experience
Licensed & Bonded
Every project uses only premium New Zealand–rated materials selected specifically for Auckland's coastal climate, high UV exposure, and wet winters.
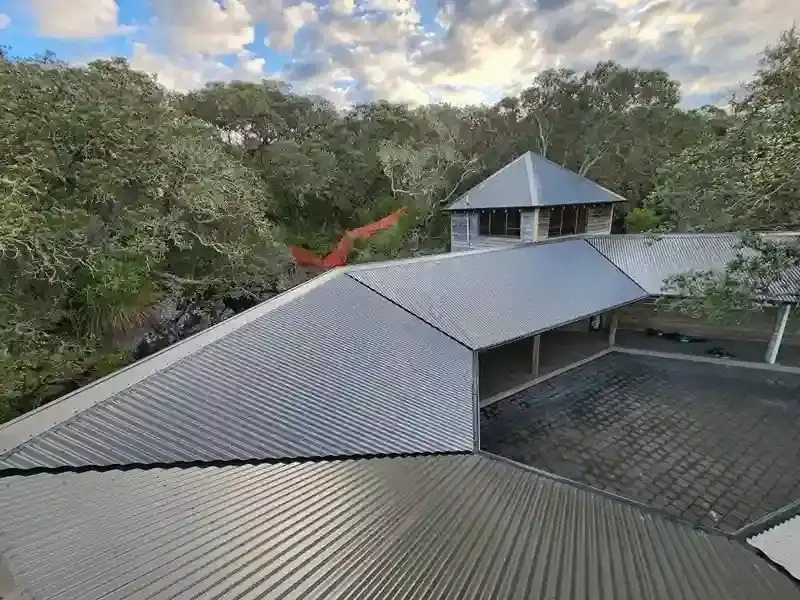
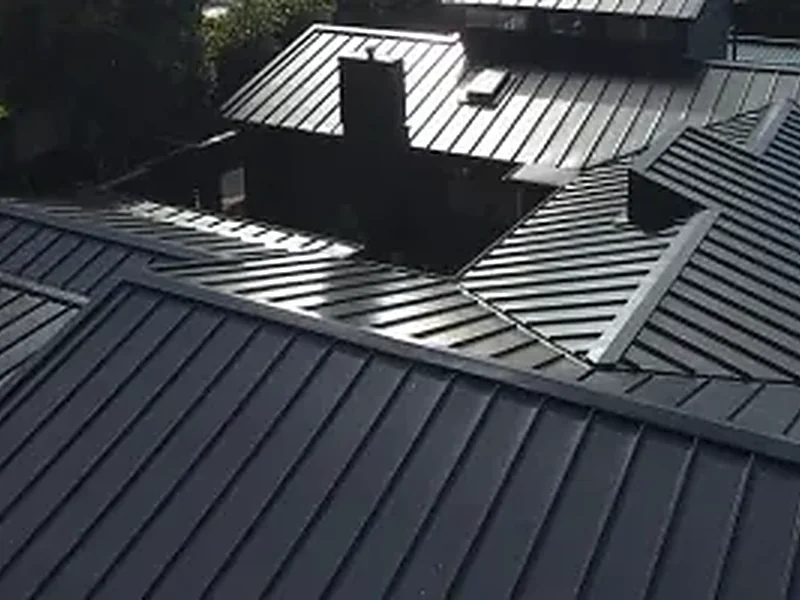
NZ's premium long-run metal — durable, lightweight, and perfect for Auckland's coastal climate.
H3.2 and H4 treated pine and hardwood — rated for Auckland's wet winters and UV exposure.
New Zealand's #1 exterior paint — 15-year warranty, formulated for Auckland's coastal salt air.
Reinforced retaining walls, slab foundations, and driveways built for Auckland's varied terrain.
Spouting and downpipes in Colorsteel or uPVC — engineered for Auckland's high annual rainfall.
Kitchen cabinetry, bathroom tiling, carpentry and storage — premium NZ-sourced materials throughout.
Traditional NZ roofing style — robust, easily maintained, and suited to all Auckland roof pitches.
Low-maintenance NZ-grade synthetic turf or sod installation for Auckland backyards and gardens.
Unsure what materials suit your Auckland home?
Our team will assess your property and recommend the best products for your climate zone — completely free.
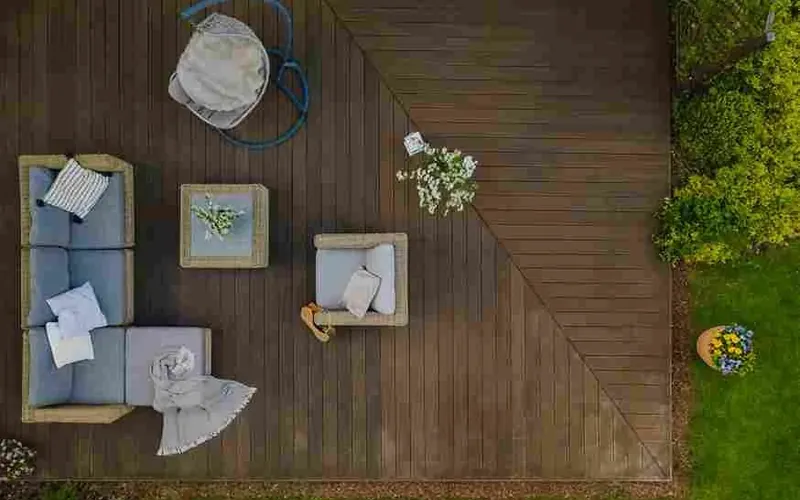
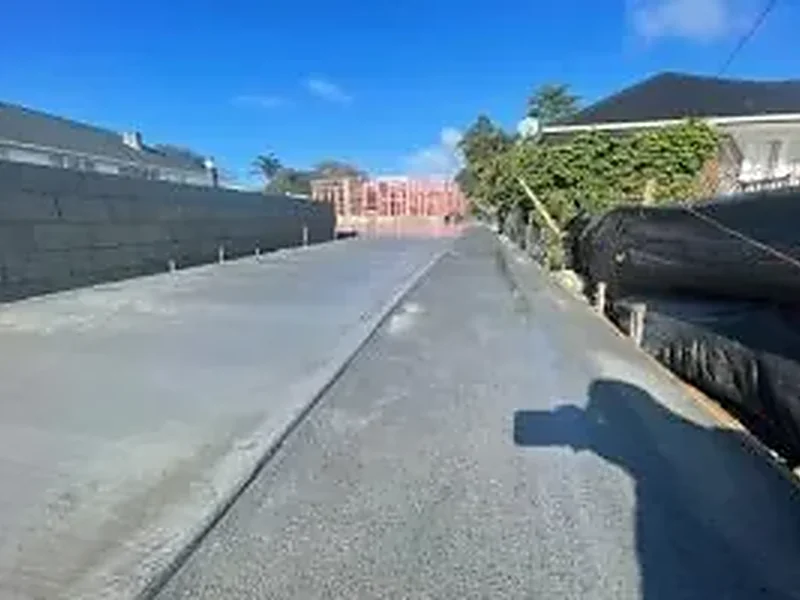
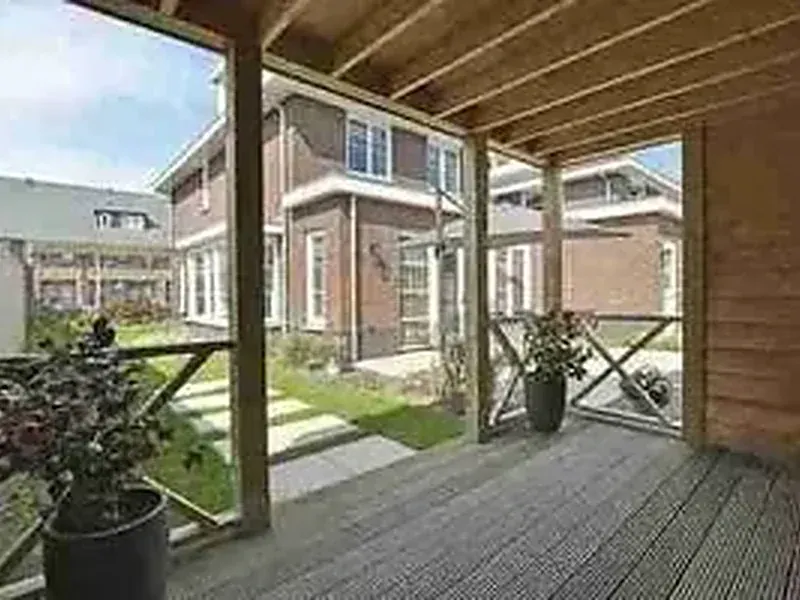
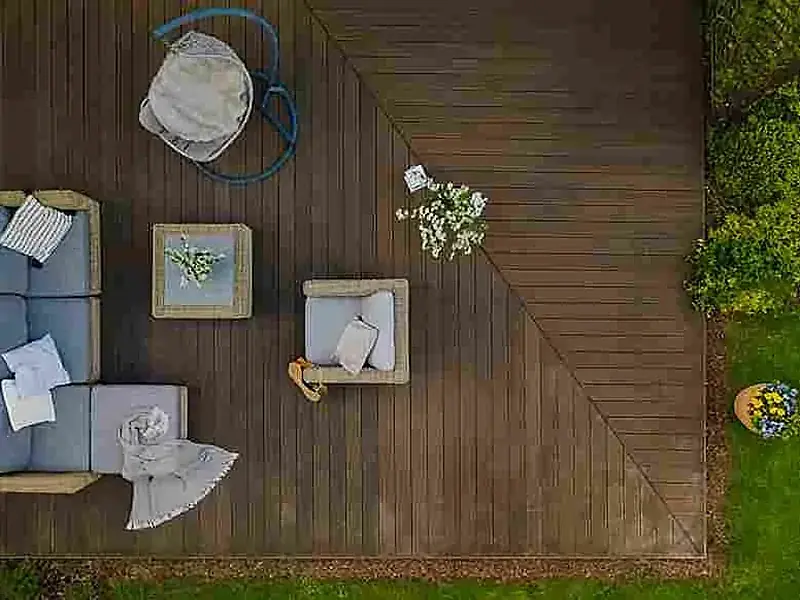
A snapshot of recent roofing, renovation, decking and civil construction work delivered for Auckland homeowners by My Homes Construct Ltd.


📍 Takapuna · Devonport · Albany · Birkenhead · Glenfield · Northcote
View Services →📍 Henderson · Te Atatu · Massey · Waitakere · New Lynn · West Harbour
View Services →📍 Howick · Botany · Pakuranga · Flat Bush · Bucklands Beach · Dannemora
View Services →📍 Manukau · Manurewa · Papakura · Papatoetoe · Otara · Clover Park
View Services →📍 Mt Eden · Ponsonby · Remuera · Parnell · Newmarket · Grey Lynn
View Services →📍 Swanson · Ranui · Westgate · Hobsonville · Whenuapai · Royal Heights
View Services →Don't see your suburb? We cover all Auckland areas.
Call us to confirm coverage — we're always expanding our service reach.
Our Sister Companies
Click any logo below to visit our specialist websites — each dedicated to expert services for your Auckland home.
Auckland Home Improvement & Renovation Services that turn your dream home into reality.
Auckland gutter cleaning, installation, repairs, and maintenance services.
Outdoor living perfected with Auckland custom deck builds.
Auckland fencing solutions for security, privacy, and style.
Durable roofing solutions in Auckland for weather resistance.
Bring new life to your Auckland home with custom renovations.
Client Reviews


My Homes Construct Ltd has been Auckland's go-to home improvement specialist since 2023. From our base in West Harbour, we deliver a complete range of residential renovation and construction services across every Auckland suburb — including gutter installation and repair, roofing, full home renovation, interior and exterior painting, deck and fence building, and civil construction.
Auckland's climate presents unique challenges for home maintenance. Coastal salt air — especially in North Shore, West Harbour, and Hobsonville — accelerates corrosion on gutters, fascia, and metal roofing faster than most New Zealand regions. Annual rainfall exceeding 1,200mm promotes rapid moss and lichen growth on decks, fences, and roof surfaces. New Zealand's strong UV radiation degrades paints and sealants quickly, making regular professional maintenance essential rather than optional.
Our team understands these specific Auckland conditions deeply — and every solution we design is built to handle them. Every project uses premium NZ-rated materials including Colorsteel, Dulux Weathershield, and treated timber rated for Auckland's wet winters. We are a registered building company trusted by Auckland homeowners for over a decade. A workmanship warranty, as per your quotation, is included on every job we complete.
Whether you need a kitchen or bathroom renovation in Remuera, a new deck in Henderson, a full re-roof in Manukau, exterior painting in Takapuna, retaining walls in Howick, or gutter replacement in Papakura — My Homes Construct Ltd has the licensed team, the right materials, and a decade of Auckland experience to deliver. Call 022 315 8987 or use our online form to book your free, no-obligation site visit today.
We service all Auckland suburbs including North Shore, West Auckland, East Auckland, South Auckland, and Central Auckland.
Yes. My Homes Construct Ltd is a registered building company, and every project is backed by a workmanship warranty as per your quotation.
Yes. We provide free, no-obligation quotes for all services across Auckland. Call 022 315 8987 or use our online form.
Established in 2023 and led by a team with 10+ years of industry experience, we've delivered 1,000+ completed projects for Auckland homeowners.
We offer roofing (painting, cleaning, repair, re-roofing), gutter & spouting services, home renovation (kitchen, bathroom, carpentry), exterior & interior painting, deck & fence builds, and civil construction (driveways, retaining walls, landscaping).
Our team is available Monday to Friday 7am–6pm and Saturday 8am–2pm. Emergency services may be available outside these hours — call 022 315 8987.
The biggest advantage of working with My Homes Construct Ltd is simple: you deal with one team for the whole job. No juggling a roofer, a builder and a painter who each blame the other when something goes wrong. From the first free assessment to the final walkthrough, the same accountable Auckland team plans, prices and delivers your project — which keeps communication clear, quality consistent and timelines realistic.
My Homes Construct Ltd is an Auckland-based construction and home-improvement company serving homeowners, landlords and property managers right across the region — North Shore, West Auckland, Central Auckland, East Auckland and South Auckland. As a registered building company, we bring roofing, guttering, home renovation, painting, decking, fencing and civil construction together under one accountable team, so you don't have to coordinate multiple contractors for a single project.
We've built our reputation on doing what we say: clear written quotes with no hidden costs, quality materials suited to Auckland's demanding coastal climate, and a workmanship warranty as per your quotation on every job. From a blocked gutter to a full home renovation, you deal with the same local team from the first free assessment through to final sign-off.
Every project starts with a free assessment and an honest recommendation. We respond to enquiries the same business day, explain your options in plain language, and put everything in writing before any work begins — so you can move forward with confidence.
Get a free, no-obligation quote from Auckland's most trusted renovation specialists. Quality work, honest prices, no surprises.
Get home improvement tips and our latest project showcases straight to your inbox.