How to Clean Rain Gutters Like a Pro in 3 Easy Steps

Introduction

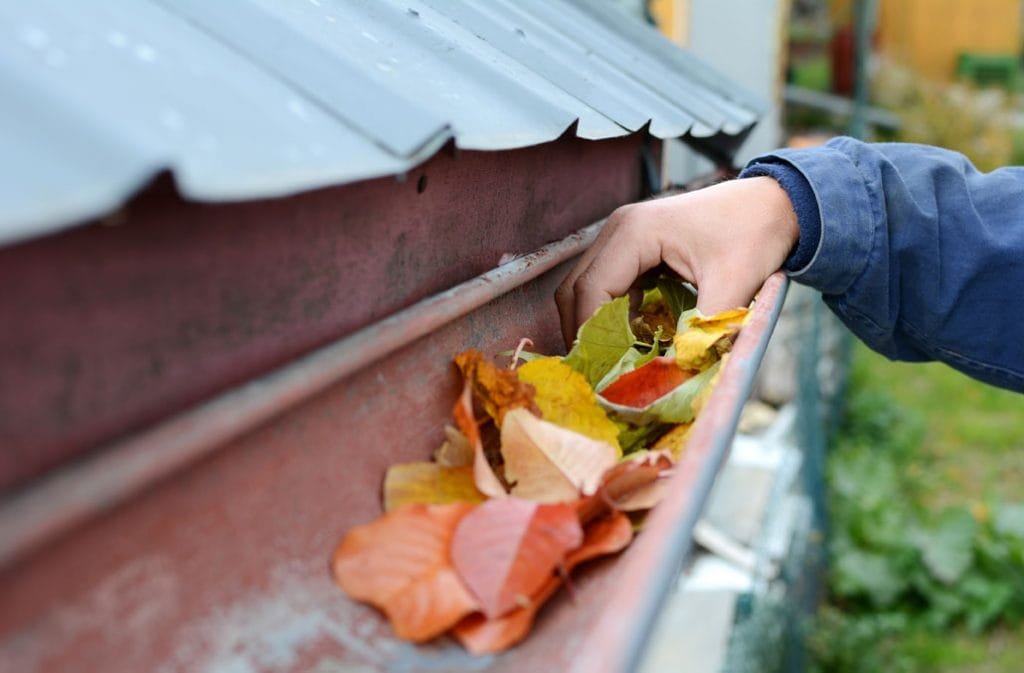
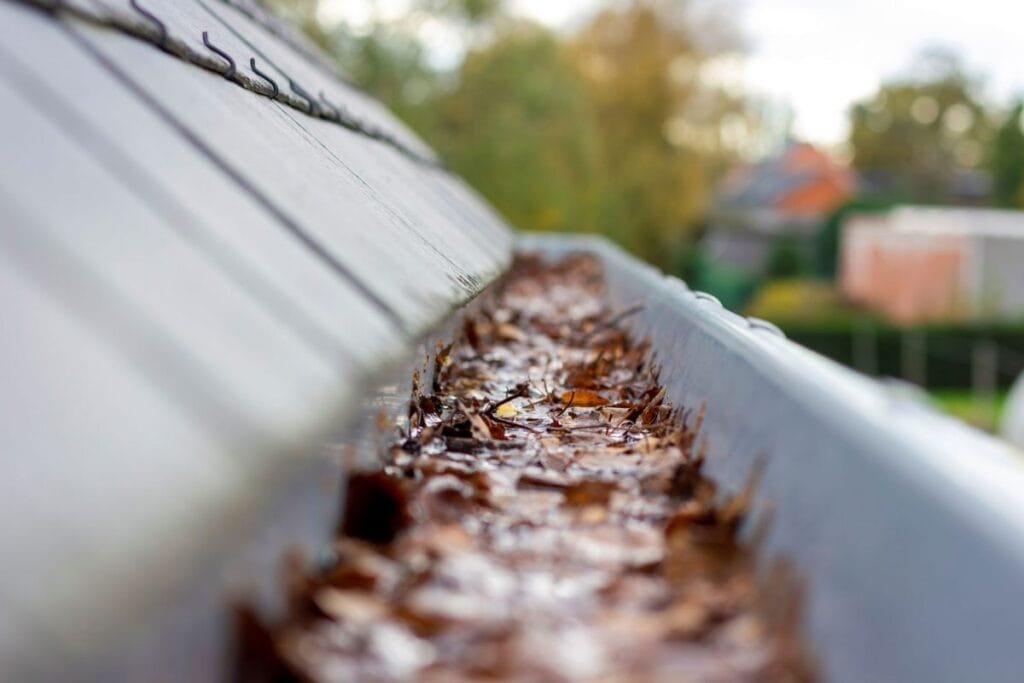
Did you know that clogged gutters can lead to costly water damage and roof leaks? Rain gutters play a critical role in protecting your home by directing water away from the foundation, walls, and roof. However, neglecting regular maintenance can result in overflowing gutters, pest infestations, and even structural damage.

The good news? Cleaning your rain gutters doesn’t have to be a daunting task. In this comprehensive guide, we’ll walk you through how to clean rain gutters like a pro in just 3 easy steps —from preparing safely to inspecting for potential issues. Whether you’re a homeowner, DIY enthusiast, or property manager, this step-by-step guide will help you keep your gutters in top shape and safeguard your home year-round. By the end of this article, you’ll have the knowledge and confidence to tackle gutter cleaning like an expert.

Understanding Rain Gutters

Before diving into the cleaning process, it’s important to understand what rain gutters are, their purpose, and why they need regular maintenance.

What Are Rain Gutters?

Rain gutters are channels attached to the edge of roofs designed to collect and redirect rainwater away from your home’s foundation. They are typically made of materials like aluminum, vinyl, steel, or copper and come in various styles, including K-style and half-round designs.

Why Are Rain Gutters Important?

  • Water Diversion: Prevents water from pooling around the foundation, which can lead to cracks, mold growth, and basement flooding.
  • Roof Protection: Reduces the risk of water seeping under shingles or damaging fascia boards.
  • Landscape Preservation: Protects landscaping, driveways, and walkways from soil erosion caused by runoff.

Risks of Neglecting Gutter Maintenance

  • Clogs and Overflow: Leaves, twigs, and debris can block gutters, causing water to spill over and damage exterior walls.
  • Pest Infestations: Standing water attracts mosquitoes and rodents, creating health hazards.
  • Structural Damage: Water pooling near the foundation can weaken it, leading to expensive repairs.
  • Ice Dams in Winter: Clogged gutters can trap melting snow, forming ice dams that cause roof leaks.

Understanding these risks underscores the importance of keeping your gutters clean and functional.

Step 1: Prepare for Safe & Efficient Gutter Cleaning

Gather Essential Tools

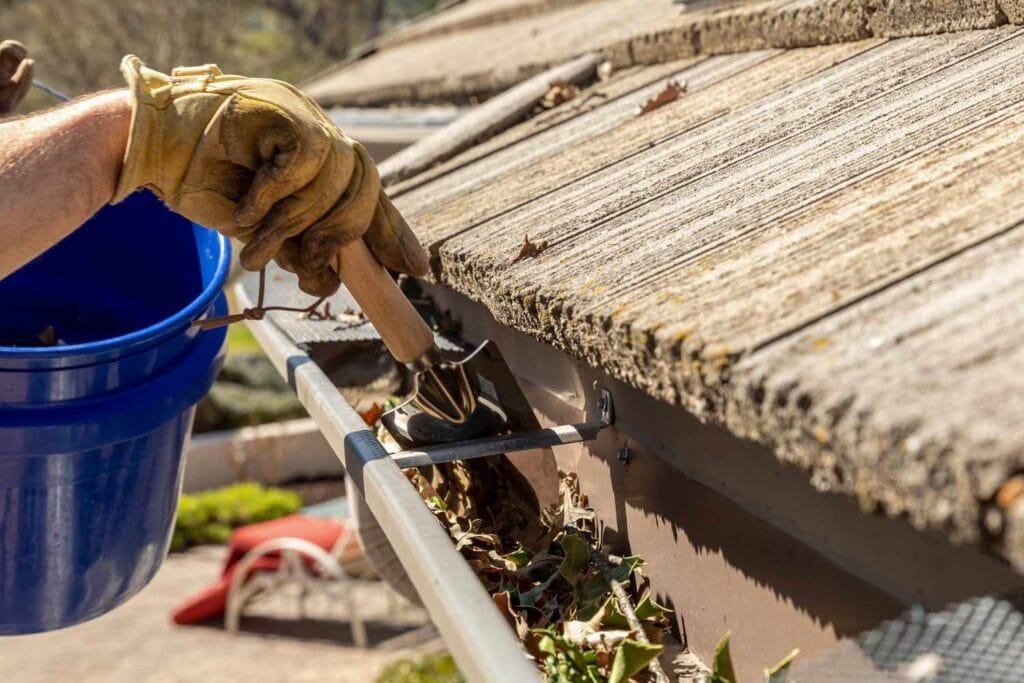
Before you begin, ensure you have the right tools for the job:

  • Ladder: A sturdy extension ladder or step ladder with non-slip feet is essential for accessing gutters safely.
  • Gloves: Heavy-duty gloves protect your hands from sharp debris, bacteria, and mold spores.
  • Gutter Scoop or Trowel: For removing leaves, twigs, sludge, and other debris.
  • Bucket or Trash Bag: To collect debris as you clean, preventing messes on the ground.
  • Hose with Spray Nozzle: For flushing out remaining debris and testing water flow.
  • Safety Gear: Non-slip shoes, goggles, and a spotter to assist with ladder safety.
  • Optional Tools: A leaf blower, shop vacuum, or plumber’s snake for stubborn clogs.

Pro Tip:

If you’re working on a multi-story home, consider renting scaffolding or using a telescopic gutter cleaning tool to avoid climbing dangerous heights.

Safety First

Cleaning gutters can be dangerous if proper precautions aren’t taken:

  • Secure the Ladder: Place the ladder on level ground and ensure it’s stable before climbing. Use a ladder stabilizer or standoff to prevent damage to gutters.
  • Avoid Overreaching: Keep your center of gravity between the ladder rails to avoid tipping over. Always move the ladder instead of leaning too far.
  • Wear Safety Gear: Protect your eyes with goggles and your hands with gloves to avoid exposure to bacteria, mold, or sharp objects.
  • Work with a Spotter: Have someone hold the ladder or monitor your progress to reduce the risk of accidents.
  • Check Weather Conditions: Avoid cleaning gutters during wet, windy, or icy conditions, as these increase the risk of slipping or falling.

Case Study:

A homeowner in Oregon ignored ladder safety while cleaning gutters and fell, resulting in a broken wrist. After consulting with a professional, they learned the importance of using a spotter and investing in a ladder stabilizer.

Best Time to Clean Gutters

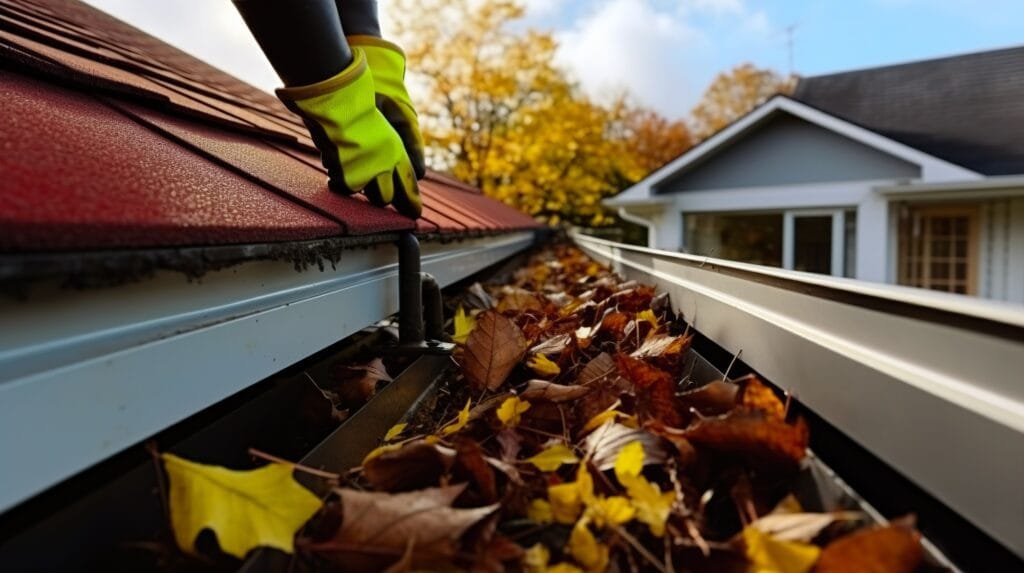
Timing is crucial for efficient gutter cleaning:

  • Spring and Fall: These seasons are ideal for cleaning, as trees shed leaves and debris during these months.
  • After Storms: Check gutters after heavy rain or windstorms to remove any accumulated debris.
  • Before Winter: Clear gutters before snowfall to prevent ice dams and water backup, which can cause roof leaks and structural damage.

Real-Life Example:

In colder climates like Minnesota, homeowners often clean gutters in late fall to prepare for winter. This practice helps prevent ice dams, which can form when melting snow refreezes at the roof’s edge due to clogged gutters.

Step 2: Remove Debris & Unclog Downspouts

Manually Remove Leaves, Twigs, and Sludge

  1. Start at One End: Begin at one corner of the gutter and work your way toward the downspout. This systematic approach ensures no section is overlooked.
  2. Use a Gutter Scoop or Trowel: Scoop out large debris like leaves, twigs, and dirt. Place the debris into a bucket or trash bag for easy disposal. Avoid throwing debris onto the ground, as it can attract pests or create a mess.
  3. Check Downspouts: Inspect the entry point of each downspout for blockages. Remove visible debris by hand or with a small trowel. If the downspout is completely blocked, use a plumber’s snake or pressure washer to clear the clog.

Advanced Tip:

For stubborn sludge buildup, mix warm water with dish soap and pour it into the gutter. Let it sit for 10-15 minutes to loosen grime before scooping it out.

Tools for Quick Cleaning

  • High-Powered Blower (Optional): Use a leaf blower or shop vacuum with a gutter attachment to quickly clear lightweight debris. This method is especially useful for homes surrounded by trees.
  • Trowel for Stubborn Sludge: Scrape out wet sludge or compacted dirt with a small trowel or scraper. For hard-to-reach areas, use a telescopic gutter cleaning tool.

Flush Downspouts

  1. Use a Garden Hose: Attach a spray nozzle to the hose and flush out remaining debris from the gutters. Start at the farthest point from the downspout and work your way toward it.
  2. Test Water Flow: Ensure water flows smoothly through the gutters and exits via the downspouts. Watch for signs of pooling or slow drainage, which may indicate a blockage.
  3. Clear Blockages: If water doesn’t flow freely, use a plumber’s snake or pressure washer to clear clogs. Alternatively, pour warm water mixed with dish soap down the downspout to break up grease or grime.

Expert Recommendation:

For persistent downspout clogs, consider using a high-pressure hose attachment or hiring a professional plumber to clear the blockage without damaging the system.

Step 3: Rinse & Inspect for Damage

Rinse Gutters Thoroughly

  1. Use a Garden Hose: Rinse the gutters with water to remove any remaining debris or residue. Pay special attention to corners and seams where debris tends to accumulate.
  2. Check for Proper Slope: Ensure gutters slope slightly toward the downspouts (about 1/4 inch per 10 feet) to allow water to drain effectively. Adjust hangers or brackets if necessary.
  3. Look for Overflow: Test the system by running water through it during dry conditions to simulate rain. Observe how water flows and identify any areas where it spills over or pools.

Pro Tip:

Place a splash block or downspout extender at the base of each downspout to direct water at least 3-4 feet away from the foundation.

Inspect for Damage

  1. Check for Leaks or Cracks: Inspect gutters for holes, cracks, or loose connections. Seal small leaks with waterproof sealant. For larger issues, consider replacing damaged sections.
  2. Realign Sagging Gutters: Tighten brackets or hangers to ensure gutters are securely attached and sloped correctly. Replace rusted or bent hangers as needed.
  3. Examine Fascia Boards: Look for signs of water damage or rot on fascia boards where gutters are mounted. Repair or replace damaged boards to prevent further deterioration.

When to Call a Professional

If you notice extensive damage, such as rusted metal gutters, sagging sections, or persistent leaks, consider hiring a professional for repair or replacement. Professionals can also install seamless gutters or advanced drainage systems for long-term solutions.

Real-World Scenario:

A homeowner in Auckland noticed recurring leaks despite regular cleaning. Upon inspection, a professional discovered that the fascia boards were rotting due to years of water exposure. Replacing the boards and installing new gutters resolved the issue permanently.

Pro Tips & Common Mistakes to Avoid

Install Gutter Guards

  • Benefits: Gutter guards reduce debris buildup, minimize cleaning frequency, and prevent pest infestations.
  • Types: Choose from mesh screens, foam inserts, brush filters, or reverse-curve guards based on your needs and budget.
  • Installation Tips: Follow manufacturer instructions carefully, ensuring guards fit snugly and don’t impede water flow.

Case Study:

A family in Texas installed micro-mesh gutter guards after years of battling clogs from oak tree debris. The guards reduced their cleaning frequency from four times a year to twice annually, saving time and effort.

Avoid Harsh Chemicals

  • Harsh chemicals can corrode metal gutters or damage surrounding plants. Stick to eco-friendly cleaning solutions like vinegar and water for stubborn stains.

How Often Should You Clean Gutters?

  • Twice a Year: Clean gutters in spring and fall to prevent debris accumulation.
  • More Frequently: Homes surrounded by trees may require quarterly cleaning.
  • Post-Storm Checks: Inspect gutters after severe weather to remove debris and check for damage.

Common Mistakes to Avoid

  • Skipping Safety Precautions: Failing to secure the ladder or wear protective gear increases the risk of accidents.
  • Neglecting Downspouts: Ignoring downspouts can lead to water backup and overflow.
  • Overlooking Hidden Damage: Small cracks or loose brackets can escalate into costly repairs if left unaddressed.
  • Using Improper Tools: Avoid sharp metal tools or abrasive cleaners that can scratch or damage gutters.

AQs About Cleaning Rain Gutters

Q1: How often should I clean my rain gutters?

Clean your gutters at least twice a year, or more frequently if you live in an area with lots of trees.

Q2: Can I clean gutters myself, or should I hire a professional?

Simple cleaning can be done DIY, but multi-story homes or complex systems may require professional help.

Q3: What tools do I need to clean gutters?

A ladder, gloves, a gutter scoop, a garden hose, and safety gear are essential.

Q4: How do I know if my gutters are damaged?

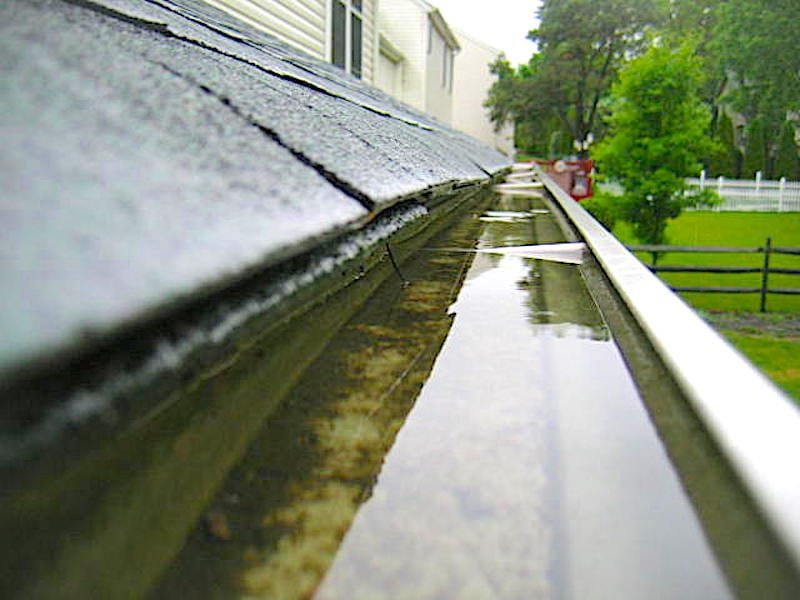
Look for sagging, leaks, rust, or water pooling near the foundation.

Q5: Are gutter guards worth it?

Yes, they reduce debris accumulation and make maintenance easier, though they require upfront investment.

Q6: Can I use a pressure washer to clean gutters?

Yes, but use low pressure to avoid damaging gutters or loosening brackets.

Conclusion

Cleaning rain gutters is a simple yet essential task that every homeowner should prioritize. By following these 3 easy steps—preparing safely, removing debris, and inspecting for damage—you can protect your home from water damage, pest infestations, and costly repairs.

Ready to tackle your gutters? Grab your tools and start today! For hard-to-reach areas or persistent issues, don’t hesitate to consult a professional gutter cleaning service. With regular maintenance and proper care, your gutters will continue to serve their vital role in protecting your home for years to come.

×