- 022 315 8987
- info@myhomesconstruct.co.nz
Gutters are the unsung heroes of home maintenance, quietly directing rainwater away from your foundation, walls, and landscaping. At the heart of this system is the gutter downspout—a vertical pipe that channels water from the roof to the ground or a drainage solution. But what happens when the downspout is too long, too short, or damaged? That’s where cutting comes in.
Cutting a gutter downspout isn’t just about trimming excess material—it’s about ensuring efficient water flow, preventing pooling near your home, and avoiding costly repairs down the line. A poorly cut downspout can lead to clogs, leaks, or even structural damage from water seeping into your foundation. Whether you’re a homeowner tackling a weekend project, a DIY enthusiast upgrading your gutter system, or a contractor fixing a client’s drainage, precision is everything.
So, why might you need to cut a downspout? Common scenarios include:
In this ultimate guide, we’ll walk you through every step of cutting a gutter downspout, from gathering tools to smoothing the edges. You’ll also get pro tips, troubleshooting advice, and insights into when it’s time to call in the experts. Let’s get started!
Before diving into the cutting process, it’s worth understanding what you’re working with. Gutter downspouts come in two main materials: aluminum and vinyl. Each has unique properties that affect how you cut and handle them.
Downspouts typically measure 2×3 inches or 3×4 inches, depending on your gutter system’s capacity. Their job? To move water efficiently from the roof to a safe discharge point—think extensions, underground drains, or splash blocks. A precise cut ensures this system works seamlessly.
Having the right tools is half the battle. Here’s a detailed rundown of what you’ll need, plus some optional extras for a polished finish:
Investing in quality tools pays off with cleaner cuts and fewer headaches. If you’re a contractor, brands like DeWalt or Milwaukee offer durable options. For homeowners, basic tools from your local hardware store will suffice.
Now, let’s get to the nitty-gritty. Follow these five detailed steps to cut your gutter downspout with confidence.
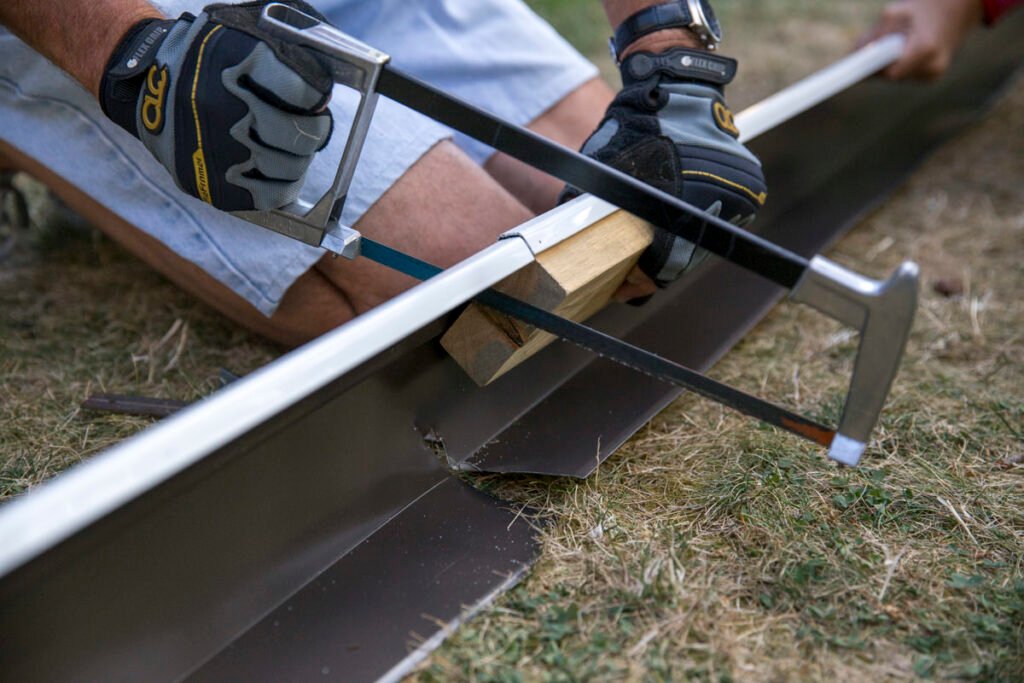
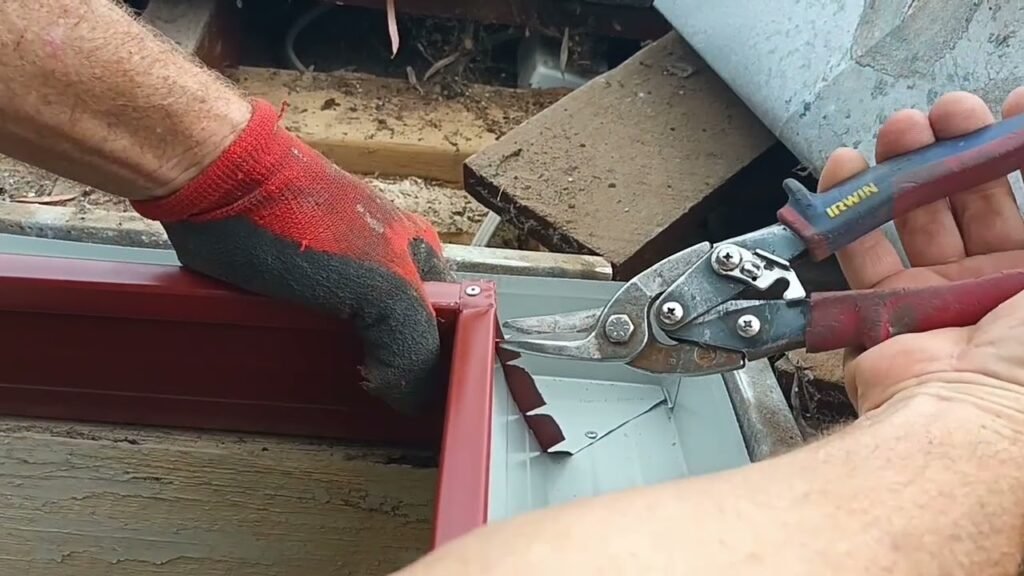
Preparation is key. Lay out all your tools on a clean, flat surface so they’re within reach. For aluminum downspouts, ensure your hacksaw blade is sharp—dull blades tear metal instead of cutting it. For vinyl, check that your tin snips are clean and free of rust for smooth action.
If you’re working outdoors, set up a portable workbench or a sturdy table. Keep a trash bin nearby for scraps, and wear your safety gear from the start. Trust me—sharp edges don’t wait for you to slip up.
Accuracy here prevents rework later. Use your measuring tape to determine the exact length you need. For example:
Mark the cut line with a straightedge and marker. For vinyl, a chalk line snaps a perfect guide; for aluminum, a bold marker stands out against the metal. Double-check your measurement. It’s better to measure twice and cut once than to waste a downspout.
Pro Tip: Wrap masking tape around the downspout at the cut line. It reduces chipping on vinyl and gives you a clearer marking surface on aluminum.
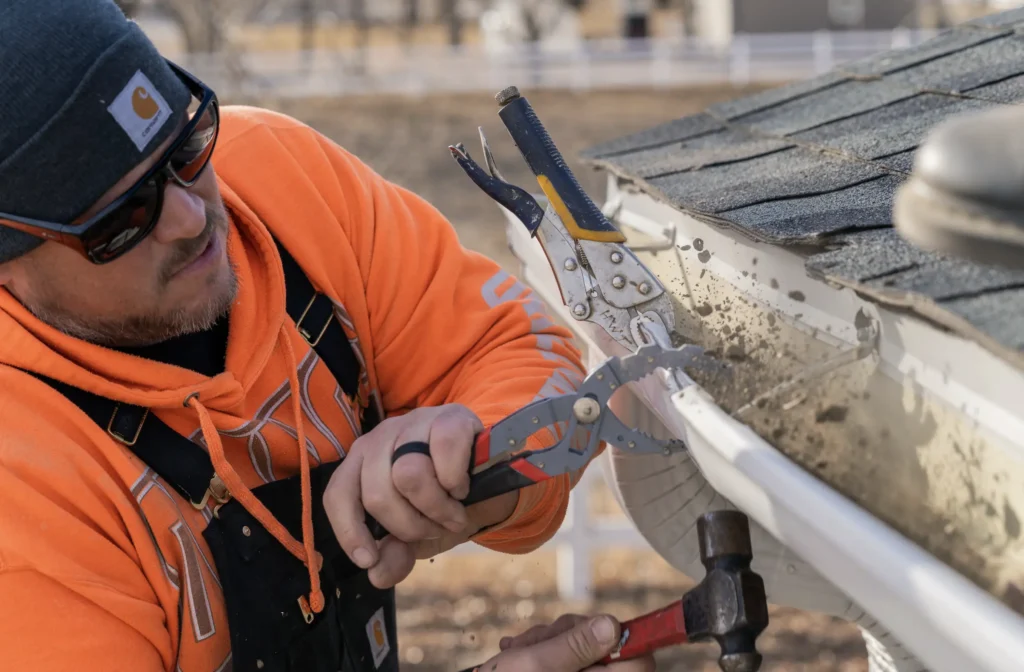
A wobbly downspout is a recipe for jagged edges. Secure it firmly:
Stability ensures your cut stays true. If you’re working at height, safety trumps speed—use a ladder stabilizer or scaffold for support.
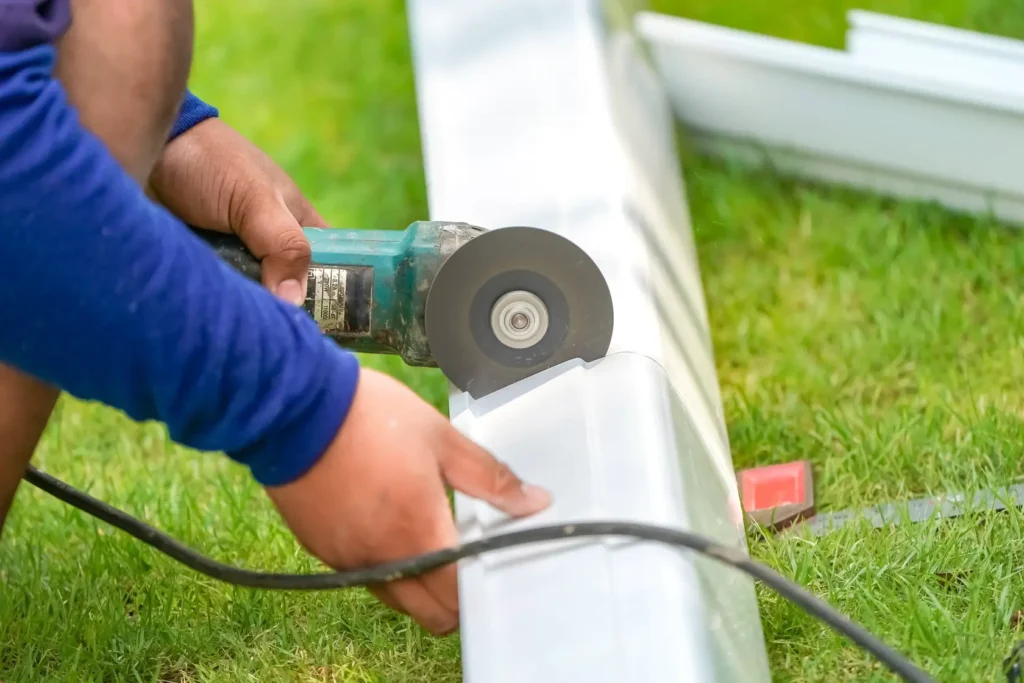
The material dictates your technique. Here’s how to handle each:
Safety Note: Keep your free hand clear of the blade path. Metal shavings and plastic shards can fly, so goggles are non-negotiable.
A rough edge isn’t just unsightly—it can snag debris or injure you during installation. Here’s how to finish:
Test-fit the cut piece. If it’s connecting to an elbow or extension, slide it on to check alignment. Secure it to the gutter system with downspout brackets or straps, spacing them every 6-10 feet for stability. Run water through the system (a hose works) to confirm proper flow—no leaks, no backups.
Even pros hit snags. Here’s how to fix them:
Practice on a scrap piece if you’re unsure—better to mess up there than on your actual downspout.
Both have pros and cons:
For beginners, vinyl is less intimidating. Contractors often prefer aluminum for its longevity and professional finish.
Cutting downspouts isn’t rocket science, but it’s not without risks:
A little caution goes a long way toward a safe, successful project.
DIY is rewarding, but some situations call for expert help:
For top-tier gutter services in Auckland, contact My Homes Construct Ltd. We specialize in gutter installation, repairs, and maintenance. Call us at +64 22 315 8987 for a free quote or expert advice. Don’t let drainage problems dampen your day—let us handle it!
A clean cut is just the start. Keep your gutters in top shape with these tips:
A well-maintained system lasts longer and protects your home better.
Master Your Gutter Downspout Cuts
Cutting a gutter downspout is a practical skill that boosts your home’s drainage and your DIY confidence. With the right tools—hacksaw for aluminum, tin snips for vinyl—and a methodical approach, you’ll get clean, precise cuts every time. From measuring twice to smoothing edges, each step builds toward a gutter system that works like a charm.
Whether you’re tweaking a downspout elbow, replacing a section, or fitting an extension, this guide has you covered. And if the job gets too big? My Homes Construct Ltd is a phone call away at +64 22 315 8987. We’re Auckland’s go-to for gutter repairs and installations. Get your free quote today and keep your home dry and damage-free!
WhatsApp us