Gutters are a critical part of your Auckland home, protecting your roof, walls, and foundation from water damage by directing rainwater away efficiently. But without properly sealed ends, even the best gutter system can leak, leading to costly issues like fascia rot, foundation erosion, or damp walls—problems all too common in Auckland’s wet climate, where annual rainfall averages around 1200 mm. Gutter end caps are small but mighty components that seal the ends of your gutter runs, ensuring water stays inside the system and flows to the downpipe as intended. For homeowners in suburbs like Titirangi or Remuera, where heavy rain and sloping sections can amplify drainage challenges, ensuring your gutter end caps are installed correctly is essential. While installing gutter end caps can be a manageable DIY project for those comfortable with basic tools and working at height, it’s a task that requires precision to avoid leaks. If you’re unsure or dealing with a complex roofline, professional help might be the better choice. In this guide, we’ll walk you through the step-by-step process to install gutter end caps, share pro tips for success, and explain why My Homes Construct Ltd is Auckland’s trusted expert for all your gutter needs.
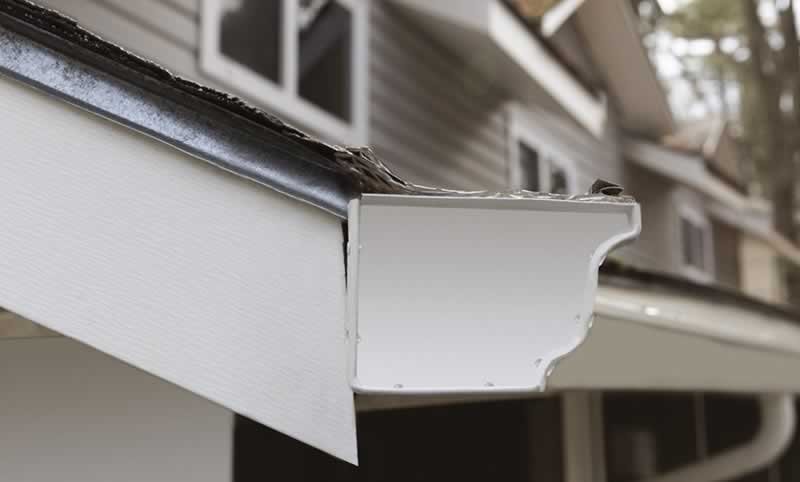
Gutter end caps might seem like a minor detail in your home’s drainage system, but they play a vital role in keeping your gutters functional and leak-free, especially in Auckland’s rainy climate. Let’s break down what they are, their purpose, and the materials they’re made from to help you choose the right ones for your home.
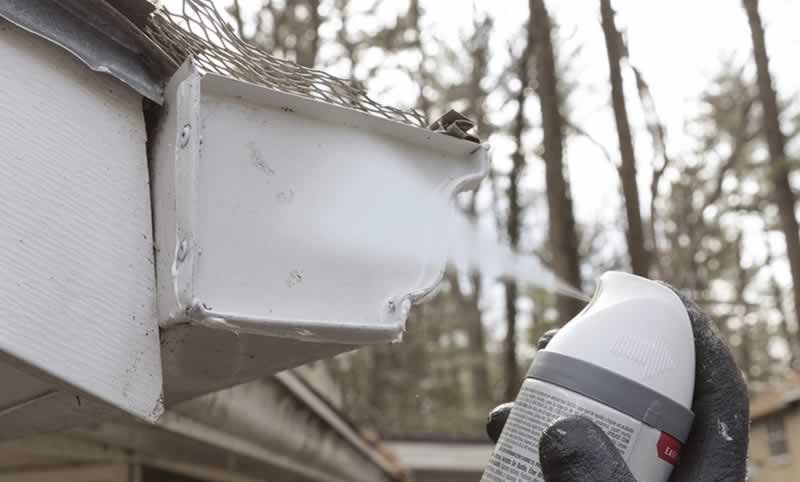
Durability Tip: Opt for end caps with a powder-coated finish if using aluminium or steel, as this adds an extra layer of protection against corrosion in Auckland’s coastal climate.
Understanding gutter end caps and choosing the right material ensures your gutter system remains watertight and effective, protecting your Auckland home from water-related damage.
Before you start installing gutter end caps, gather the right tools and materials to ensure a smooth and safe process. Having everything on hand will save time and help you complete the job efficiently, especially when working at height. Here’s what you’ll need for a typical Auckland home:
Safety Tip: Always set up your ladder on flat, stable ground, and avoid working in wet or windy conditions—Auckland’s weather can change quickly, increasing the risk of slips or falls.
With these tools and materials ready, you’ll be well-equipped to install gutter end caps effectively, ensuring a watertight seal that protects your Auckland home from leaks.
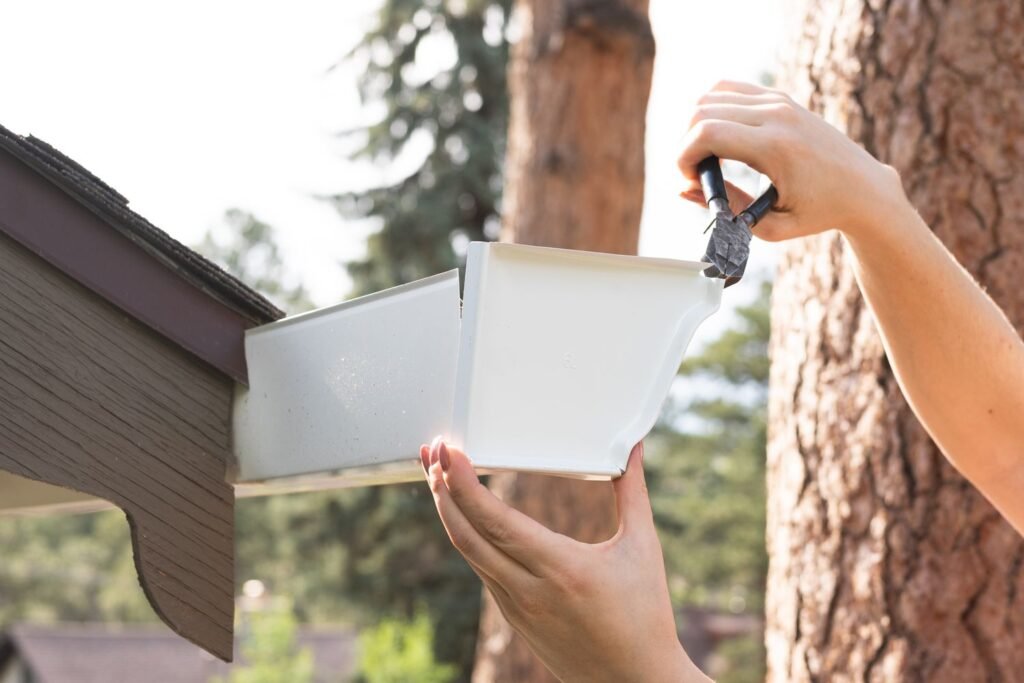
Installing gutter end caps is a straightforward process if you follow these steps carefully. This guide is tailored for Auckland homeowners, considering local weather conditions and building standards. Always prioritise safety when working at height, especially on ladders.
A clean surface ensures a secure, watertight fit for the end cap, preventing leaks down the line.
Cleaning Tip: If the gutter has stubborn rust, apply a rust converter before cleaning to neutralise it, ensuring a better surface for the end cap installation.
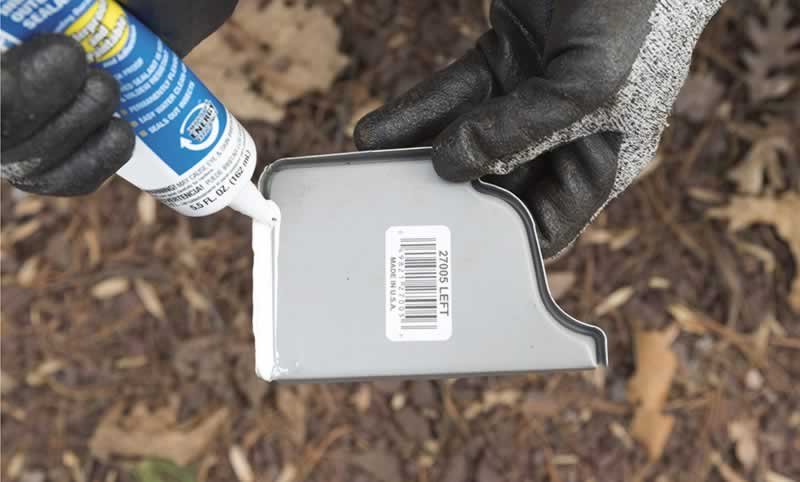
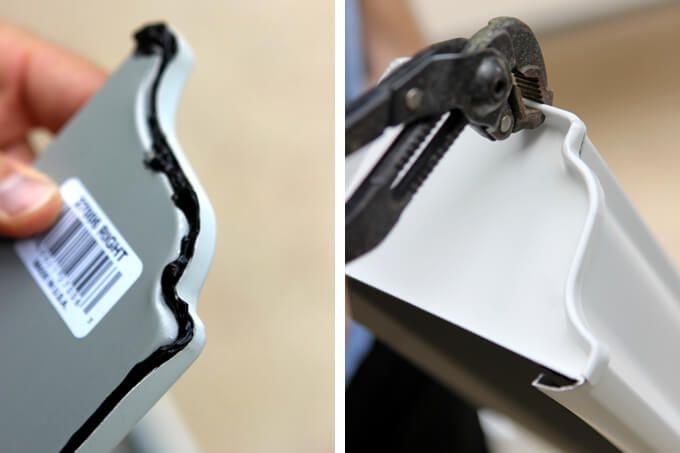
A proper sealant application is crucial for a leak-free seal, ensuring the end cap stays in place through Auckland’s wet weather.
Sealant Tip: Keep a damp cloth handy to wipe away any excess sealant immediately after application, ensuring a clean, professional finish that won’t attract dirt or debris.
Proper positioning ensures the end cap fits securely and directs water into the gutter system without leaks.
Fitment Tip: Use a small piece of tape to temporarily hold the end cap in place while you prepare to secure it, especially if working alone on a ladder in windy conditions.
Securing the end cap ensures it stays in place, even during Auckland’s stormy weather, preventing water from escaping.
Securing Tip: If using screws, apply a small dab of sealant over each screw head after installation to prevent water from seeping through the holes, adding an extra layer of protection.
Testing the installation ensures the end cap is watertight and functioning as intended, protecting your home from water damage.
Testing Tip: Test during a light rain if possible, as this will give you a real-world sense of how the end cap performs in Auckland’s typical weather, ensuring it can handle the city’s frequent showers.
By following these steps, you’ll ensure your gutter end caps are installed correctly, creating a watertight seal that keeps your gutter system functioning effectively and protects your Auckland home from water damage.
Installing gutter end caps might seem simple, but a few professional tips can make the difference between a good job and a great one. These tips, tailored for Auckland’s unique conditions, will help you achieve a leak-free, long-lasting installation:
Pro Tip: If you’re replacing an old end cap, take a photo of the existing setup before removing it—this can serve as a reference for positioning the new cap, ensuring a seamless installation.
These tips will help you install gutter end caps like a pro, ensuring a durable, leak-free result that stands up to Auckland’s challenging weather conditions.
Do gutter end caps need sealant?
Yes, sealant is essential to create a watertight seal between the end cap and the gutter, preventing leaks. In Auckland’s wet climate, skipping sealant can lead to water overflow, causing damage to your fascia or foundation over time.
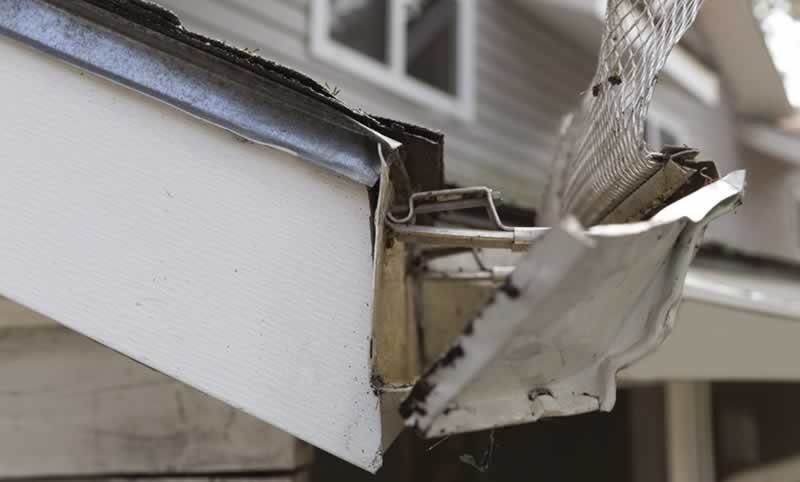
Can you replace a gutter end cap without removing the gutter?
Yes, you can replace an end cap without removing the gutter by carefully removing the old cap (using a drill to remove rivets or screws), cleaning the gutter end, and installing the new cap following the steps above. However, if the gutter is damaged, removal might be necessary.
How long does gutter sealant take to dry?
Most gutter sealants, like silicone, are tack-free within 1–2 hours but take 24–48 hours to fully cure, depending on humidity. In Auckland’s humid climate, allow the full 48 hours before testing with heavy water flow to ensure a strong seal.
What should I do if the end cap leaks after installation?
If the end cap leaks, check for gaps in the sealant or loose fasteners. Remove the cap, clean the area, reapply sealant, and secure it again. If the issue persists, the gutter may be damaged—contact My Homes Construct Ltd for professional help.
Are there different types of end caps for different gutters?
Yes, end caps vary by material (aluminium, vinyl, steel) and gutter profile (quad, half-round). Ensure the end cap matches your gutter’s material and size (e.g., 125 mm) to avoid fitment issues or corrosion, especially in Auckland’s salty air.
Properly installed gutter end caps are a small but crucial component of a leak-free drainage system, protecting your Auckland home from the costly effects of water damage, such as fascia rot, foundation erosion, or damp walls. By following this step-by-step guide—cleaning the gutter ends, applying sealant, positioning the end cap, securing it with rivets or screws, and testing for leaks—you can ensure your gutters function effectively, even during Auckland’s heaviest rains. Pro tips like wearing safety gear, avoiding overtightening, and using weather-resistant sealant will help you achieve a professional-quality installation that lasts for years. However, if you’re dealing with a steep roofline, damaged gutters, or simply prefer the peace of mind that comes with expert service, My Homes Construct Ltd is here to help. As Auckland’s trusted gutter pros, we handle everything from minor repairs to full replacements, ensuring your home stays dry and protected.
📞 Contact My Homes Construct Ltd
Phone: 022 315 8987
Email: info@myhomesconstruct.co.nz
From minor dents to full replacements—we’re Auckland’s gutter pros! Call us today for a free consultation and let us keep your gutters in top shape.
WhatsApp us