How to Measure Gutter Size: The Ultimate Step-by-Step Guide for Homeowners, DIYers, and Contractors

Gutters might not be the most glamorous part of your home, but they’re critical for protecting your property from water damage. Too small, and they overflow during storms, sending water cascading down your siding or pooling near your foundation. Too large, and you’re overspending on materials you don’t need. Whether you’re a homeowner looking to replace old gutters, a DIY enthusiast tackling a weekend project, or a roofing contractor ensuring a client’s home stays dry, knowing how to measure gutter size accurately is essential.

In this comprehensive guide, we’ll walk you through a detailed, beginner-friendly process to calculate the perfect gutter size for your home. Backed by roofing industry standards, real-world examples, and expert tips, this article addresses common pain points—like avoiding overflow, preventing foundation erosion, and handling heavy rainfall. Let’s dive in and ensure your gutters are up to the task!

how to measure gutter size Auckland

Why Gutter Size Matters: More Than Just a Cosmetic Choice

Before we get into the how-to, let’s explore why gutter size is so important. Gutters are your home’s drainage system, channeling rainwater away from your roof, walls, and foundation. When they’re sized correctly, they:

  • Prevent Overflow and Water Damage: Undersized gutters can’t handle heavy rain, leading to water spilling over the edges, staining siding, rotting fascia boards, and ruining landscaping.
  • Protect Your Foundation: Excess runoff erodes soil around your home, potentially cracking your foundation or flooding your basement.
  • Ensure Longevity: Properly sized gutters reduce strain on the system, minimizing wear and tear over time.

A study by the National Association of Home Builders (NAHB) notes that improper gutter sizing contributes to 70% of water-related home repair claims. That’s a statistic no homeowner wants to be part of! By following this guide, you’ll avoid these pitfalls and keep your home safe and dry.

Tools You’ll Need to Measure Gutter Size

Before starting, gather these essentials:

  • Tape Measure: For measuring roof dimensions.
  • Ladder: To safely access your roof (use a spotter for safety).
  • Level and Ruler: To calculate roof pitch.
  • Calculator: For quick math on drainage area and capacity.
  • Notepad or Smartphone: To jot down measurements.
  • Optional: A laser measuring tool for larger roofs or a rain gauge for local rainfall data.

With your tools ready, let’s move on to the step-by-step process.

Step-by-Step Guide: How to Measure Gutter Size

Here’s the detailed breakdown of how to determine the right gutter size for your home. Each step builds on the last, ensuring precision and reliability.

Step 1: Measure the Roof’s Drainage Area

The size of your gutters depends on how much roof area they need to drain. This is called the “drainage area,” and calculating it is your starting point.

How to Measure Your Roof’s Drainage Area

  1. Identify Gutter Runs: Look at your roof and note where each gutter section will go. A “run” is a continuous length of gutter along one edge of the roof.
  2. Measure Roof Sections: For each run, measure the length and width of the roof area draining into it.
    • Length: The horizontal distance along the gutter (e.g., the length of your house’s eaves).
    • Width: The distance from the eaves to the roof’s peak (or halfway if the gutter only drains one side of a gabled roof).
  3. Calculate Square Footage: Multiply length by width for each section.
    Formula: Length × Width = Drainage Area
    Example: A roof section 50 ft long and 15 ft wide = 50 × 15 = 750 sq ft.

Handling Complex Roofs

If your roof isn’t a simple rectangle—like homes with gables, dormers, or multiple slopes—break it into smaller sections:

  • Gabled Roof Example: A 40-ft-long house with a 20-ft-wide roof (10 ft per side) has two gutter runs. Each side’s drainage area is 40 × 10 = 400 sq ft.
  • Add-Ons: For dormers or valleys, measure their dimensions separately and add them to the total.

Real-World Scenario

Imagine a 2,000 sq ft home with a front gutter run of 60 ft and a roof width of 25 ft (draining one side). The drainage area is 60 × 25 = 1,500 sq ft. If there’s a 10 × 10 ft dormer feeding into the same gutter, add 100 sq ft, making it 1,600 sq ft total.

Pro Tip: If measuring from the roof feels daunting, use your home’s blueprint or measure from the ground and adjust for overhangs (typically 1-2 ft).

Step 2: Calculate the Roof Pitch Factor

Roof pitch—the steepness of your roof—affects how quickly water flows into your gutters. Steeper roofs shed water faster, increasing the volume your gutters must handle. The pitch factor adjusts your drainage area to account for this.

How to Measure Roof Pitch

  1. Set Up Your Tools: Place a 12-inch level horizontally on your roof (near the edge for safety).
  2. Measure the Drop: Hold one end of the level steady and measure the vertical distance from the other end to the roof surface.
  3. Determine Pitch Ratio: The drop in inches over 12 inches is your pitch. For example:
    • 4-inch drop = 4:12 pitch (moderate slope).
    • 8-inch drop = 8:12 pitch (steep).

Roof Pitch Factor Chart

Based on industry standards (like those from the Sheet Metal and Air Conditioning Contractors’ National Association, SMACNA):

  • Flat to 3:12 pitch: 1.0 (no adjustment)
  • 4:12 to 6:12 pitch: 1.1
  • 7:12 to 9:12 pitch: 1.2
  • 10:12 or steeper: 1.3

Apply the Pitch Factor

Multiply your drainage area by the pitch factor:

Formula: Drainage Area × Pitch Factor = Adjusted Drainage Area

Example: 1,600 sq ft (from Step 1) with a 6:12 pitch (1.1 factor) = 1,600 × 1.1 = 1,760 sq ft.

Why Pitch Matters

A steeper roof increases runoff speed and volume. For instance, a flat roof might trickle water into gutters over time, while a 10:12 pitch sends it rushing down in seconds, demanding more capacity.

Expert Insight: Contractors in mountainous regions (e.g., Colorado) often see steeper pitches (8:12 or higher) and recommend upsizing gutters to handle snowmelt and rain combined.

Step 3: Determine Rainfall Intensity

Rainfall intensity—how much rain falls per hour—varies by location and is a key factor in gutter sizing. A gutter that works fine in a dry climate like Arizona might fail miserably in a rainy region like Louisiana.

How to Find Rainfall Intensity

  1. Check Local Data: Visit the NOAA Atlas 14 (available online) or your local weather service for rainfall stats.
  2. Use the 25-Year Storm Standard: Industry pros size gutters for a “1-hour duration, 25-year recurrence interval” storm—the heaviest rain expected every 25 years. This ensures durability.
  3. Convert to Inches per Hour: Look for the 5-minute peak intensity and multiply by 12 (since 5 minutes is 1/12 of an hour).
    Example: NOAA lists 0.5 inches in 5 minutes for your area. 0.5 × 12 = 6 inches/hour.

Rainfall Examples by Region

  • Seattle, WA: ~2 inches/hour (moderate rain).
  • Miami, FL: ~4 inches/hour (tropical storms).
  • Phoenix, AZ: ~1 inch/hour (rare but intense).

Why Local Data Is Critical

Generic averages (e.g., 1 inch/hour) might undersize your gutters for your climate. In 2023, a homeowner in Houston reported gutter overflow during Hurricane Harvey because they used national averages instead of Texas-specific data (up to 5 inches/hour).

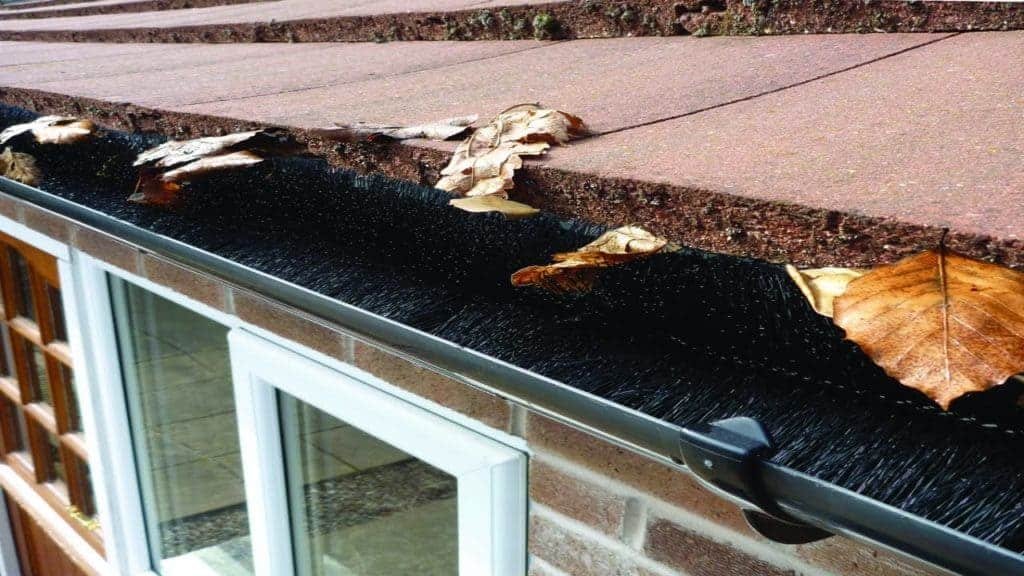
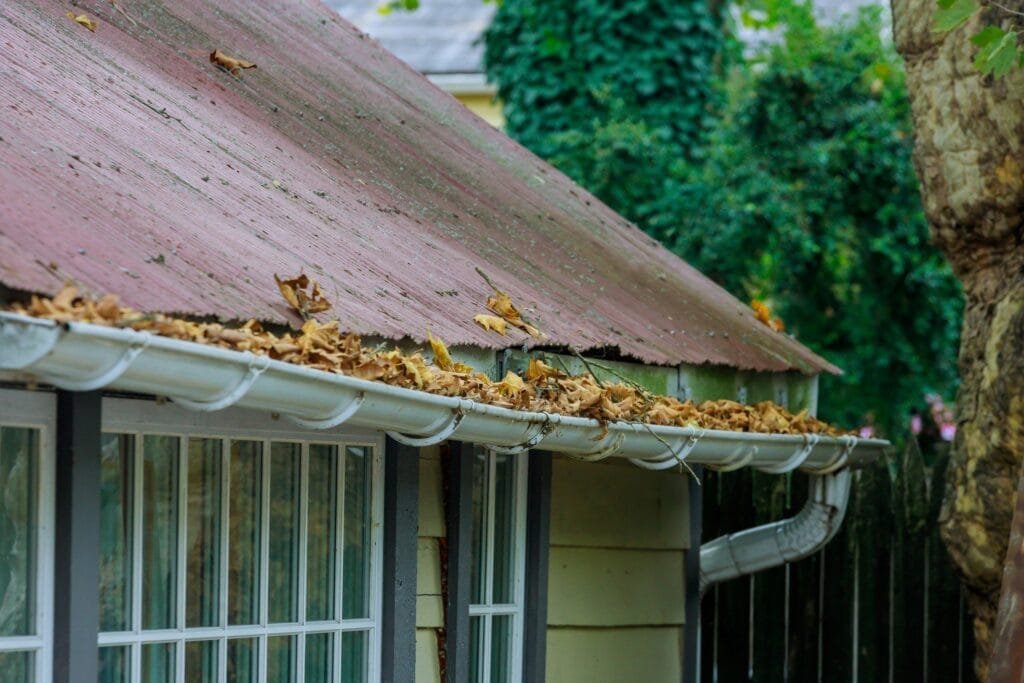
Pro Tip: If you’re near trees or in a storm-prone area, factor in debris and consider slightly larger gutters for safety.

Step 4: Find the Right Gutter Size

Now, combine your adjusted drainage area and rainfall intensity to calculate the required gutter capacity, then match it to standard gutter sizes.

Gutter Capacity Formula

Formula: (Adjusted Drainage Area) × (Rainfall Intensity) = Required Gutter Capacity (cubic inches/hour)

Example Calculation

  • Adjusted Drainage Area: 1,760 sq ft (from Step 2).
  • Rainfall Intensity: 2 inches/hour (e.g., Seattle).
  • 1,760 × 2 = 3,520 cubic inches/hour.

Compare to Gutter Capacities

Manufacturers rate gutters by the roof area they can drain at 1 inch/hour rainfall. Adjust for your intensity:

  • 5-inch K-style Gutter: Handles ~5,500 sq ft at 1 inch/hour.
    • At 2 inches/hour: 5,500 ÷ 2 = 2,750 sq ft.
  • 6-inch K-style Gutter: Handles ~8,000 sq ft at 1 inch/hour.
    • At 2 inches/hour: 8,000 ÷ 2 = 4,000 sq ft.

For our 1,760 sq ft example at 2 inches/hour, a 5-inch gutter (2,750 sq ft capacity) works, but a 6-inch (4,000 sq ft) offers a buffer for storms.

Gutter Types and Sizes

  • K-Style (Most Common):
    • 5-inch: Standard for homes up to 2,500-3,000 sq ft (at 1 inch/hour).
    • 6-inch: For larger roofs or heavy rain zones.
  • Half-Round:
    • 5-inch: ~2,500 sq ft at 1 inch/hour.
    • 6-inch: ~3,500 sq ft at 1 inch/hour (classic look, less capacity than K-style).

When to Upsize

  • Frequent storms or debris? Go bigger (e.g., 6-inch).
  • Roof valleys concentrating runoff? Add capacity or extra downspouts.

Expert Insight: Roofing pros often recommend 6-inch gutters in the Southeast U.S., where hurricanes push rainfall beyond 4 inches/hour.

Step 5: Choose the Correct Downspout Size & Placement

Gutters channel water, but downspouts get it out. Without the right size and spacing, even perfect gutters will overflow.

Downspout Sizing

  • 5-inch Gutters: Pair with 2×3-inch (standard) or 3×4-inch (heavy rain) downspouts.
  • 6-inch Gutters: Use 3×4-inch or 4×5-inch for maximum flow.

Placement Guidelines

  • Spacing: One downspout per 30-40 ft of gutter length.
  • Large Roofs: Add extra downspouts for areas over 1,000 sq ft or at corners/valleys.
  • Flow Rate: A 3×4-inch downspout handles ~600 sq ft at 1 inch/hour (300 sq ft at 2 inches/hour).

Example

For a 60-ft gutter run draining 1,760 sq ft at 2 inches/hour:

  • Two 3×4-inch downspouts (every 30 ft) handle 600 × 2 = 1,200 sq ft total—upgrade to 4×5-inch or add a third for safety.

Directing Water

Extend downspouts 5-10 ft from your foundation with splash blocks or underground drainage pipes to prevent pooling.

Pro Tip: In snowy climates, use larger downspouts (e.g., 4×5-inch) to handle melting snow and ice.

How to Install Metal Gutter Guards
How to fix gutters that overflow

Pro Tips for Perfect Gutter Sizing

  1. Don’t Skimp on Rainfall Data: Use NOAA or local records—guessing leads to undersized systems.
  2. Factor in Debris: Leaves and twigs reduce capacity; consider gutter guards or larger sizes.
  3. Test Your System: After installation, simulate rain with a hose to check for overflow.

Consult a Pro for Big Jobs: Roofs over 3,000 sq ft or complex layouts benefit from expert input.

Common Mistakes to Avoid

  • Ignoring Pitch: Flat-roof calculations won’t work for steep slopes.
  • Undersized Downspouts: A 5-inch gutter with 2×3-inch downspouts bottlenecks in heavy rain.
  • Skipping Maintenance: Clogged gutters lose 20-30% of capacity—clean them biannually.

Overlooking Local Weather: A gutter sized for light rain fails in a downpour.

Gutter Sizing in Action: Real-World Examples

Example 1: Small Home in a Rainy Climate

  • Roof: 30 ft × 20 ft = 600 sq ft, 4:12 pitch (1.1 factor).
  • Adjusted Area: 600 × 1.1 = 660 sq ft.
  • Rainfall: 3 inches/hour (Portland, OR).
  • Capacity Needed: 660 × 3 = 1,980 cubic inches/hour.
  • Solution: 5-inch K-style (2,750 sq ft at 2 inches/hour) with two 3×4-inch downspouts.

Example 2: Large Home in a Storm Zone

  • Roof: 50 ft × 40 ft = 2,000 sq ft, 8:12 pitch (1.2 factor).
  • Adjusted Area: 2,000 × 1.2 = 2,400 sq ft.
  • Rainfall: 4 inches/hour (New Orleans, LA).
  • Capacity Needed: 2,400 × 4 = 9,600 cubic inches/hour.
  • Solution: 6-inch K-style (4,000 sq ft at 2 inches/hour) with three 4×5-inch downspouts.

Conclusion: Size Your Gutters Right and Protect Your Home

Measuring gutter size isn’t rocket science, but it does require precision. By calculating your roof’s drainage area, adjusting for pitch, factoring in local rainfall, and pairing gutters with the right downspouts, you’ll create a system that stands up to the elements. Whether you’re a DIYer swapping out rusty gutters or a contractor ensuring a client’s peace of mind, this guide—rooted in industry best practices—has you covered.

Ready to get started? Grab your tape measure, check your local NOAA data, and size your gutters like a pro. Questions or need help with a tricky roof? Let us know in the comments—we’re here to assist!