If you’re wondering how to unclip plastic guttering in Auckland , you’re not alone. Many homeowners face this task when dealing with routine maintenance, repairs, or upgrades. Whether it’s clearing out debris after a storm, fixing a stubborn leak, or replacing an old section of guttering, knowing how to safely unclip your plastic gutters is a valuable skill.
Auckland’s climate—characterized by frequent rain and high humidity—puts extra strain on gutter systems. Without regular upkeep, blockages can lead to water overflow, foundation damage, and even pest infestations. Over time, these issues can escalate into costly repairs if left unaddressed.
In this comprehensive guide, we’ll walk you through every step of the process, from identifying the tools you’ll need to executing the task safely and efficiently. We’ll also share expert tips to help you avoid common mistakes and ensure your gutters remain in top condition. By the end of this article, you’ll feel confident tackling this project yourself—or know exactly when it’s time to call in the professionals.
Unclipping plastic guttering might seem like a straightforward task, but understanding why it’s necessary can help you approach the job with clarity and purpose. Here are some common scenarios where unclipping becomes essential:
Auckland’s lush environment means gutters often become clogged with leaves, twigs, and dirt. Over time, this debris can block water flow, leading to overflow during heavy rain. Regular cleaning prevents water from spilling over the sides and damaging your home’s foundation or walls.
For example, if water pools around your foundation, it can seep into cracks and cause structural issues. Similarly, overflowing gutters can lead to roof leaks or water stains on your exterior walls. Cleaning your gutters at least twice a year—before autumn and after winter—is crucial to maintaining their functionality.
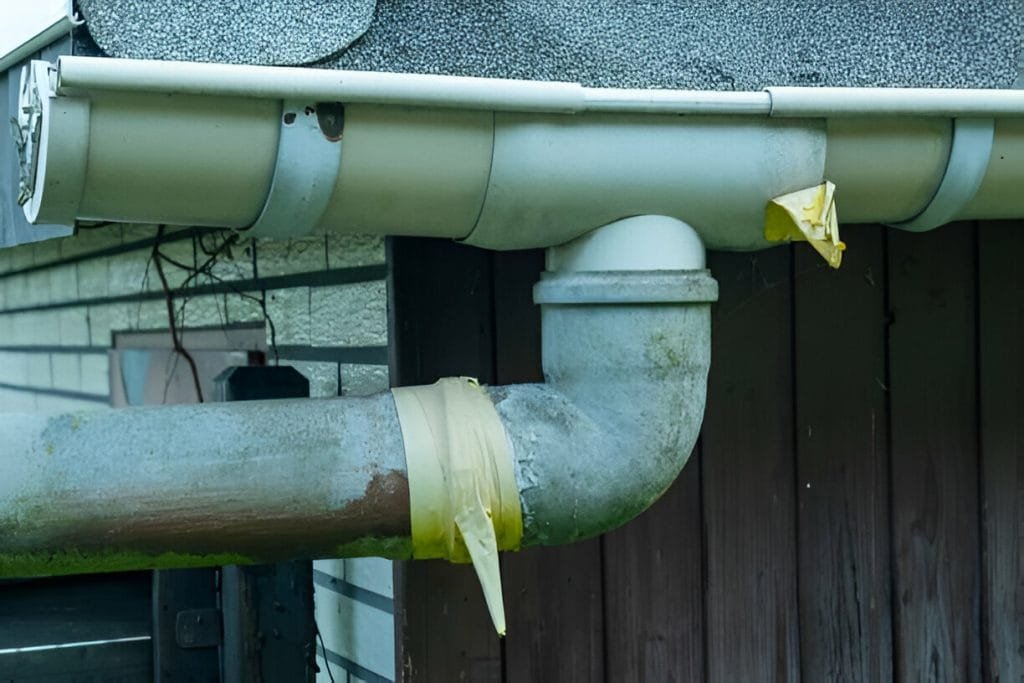
Cracks, leaks, or sagging sections in your guttering may require unclipping to access and fix the problem areas. Ignoring these issues can result in costly repairs down the line, such as water damage to your roof, walls, or foundation.
For instance, a small crack in your gutter might seem minor, but over time, it can expand and allow water to seep into your home. Addressing these problems early can save you significant time and money.
Plastic guttering doesn’t last forever. Over time, exposure to Auckland’s weather conditions can cause wear and tear, including cracks, warping, or discoloration. If your gutters are beyond repair, unclipping them is the first step toward installing a new system.
Upgrading to modern gutter systems can also improve your home’s drainage efficiency. For example, newer designs often include features like built-in leaf guards, which reduce the frequency of cleanings and minimize blockages.
As technology advances, newer gutter systems offer improved durability, design, and functionality. If you’re considering an upgrade, unclipping your existing plastic guttering is a necessary part of the process.
For instance, switching to seamless gutters can eliminate joints that are prone to leaks. Alternatively, installing larger downspouts can improve water flow and reduce the risk of overflow during heavy rainstorms.
By addressing these tasks promptly, you can prevent water pooling around your foundation, soil erosion, and other issues caused by poorly functioning gutters.

Before you begin, it’s essential to gather the right tools and materials to ensure the process goes smoothly. Here’s what you’ll need:
Pro Tip: When purchasing tools, opt for durable, weather-resistant options designed for Auckland’s climate. Local hardware stores often stock supplies tailored to regional conditions.
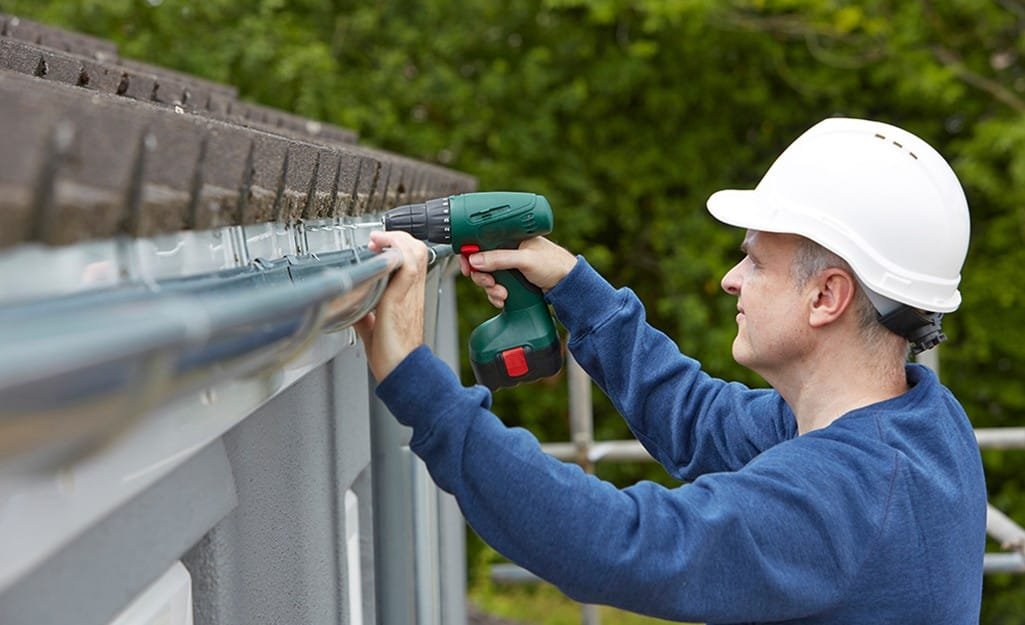
Start by clearing the ground below the gutters to create a safe workspace. Remove obstacles like garden furniture, potted plants, or tools to prevent injury from falling debris. Set up a stable ladder and ensure it’s secure before climbing. Always have someone nearby to assist if possible, especially when working at heights.
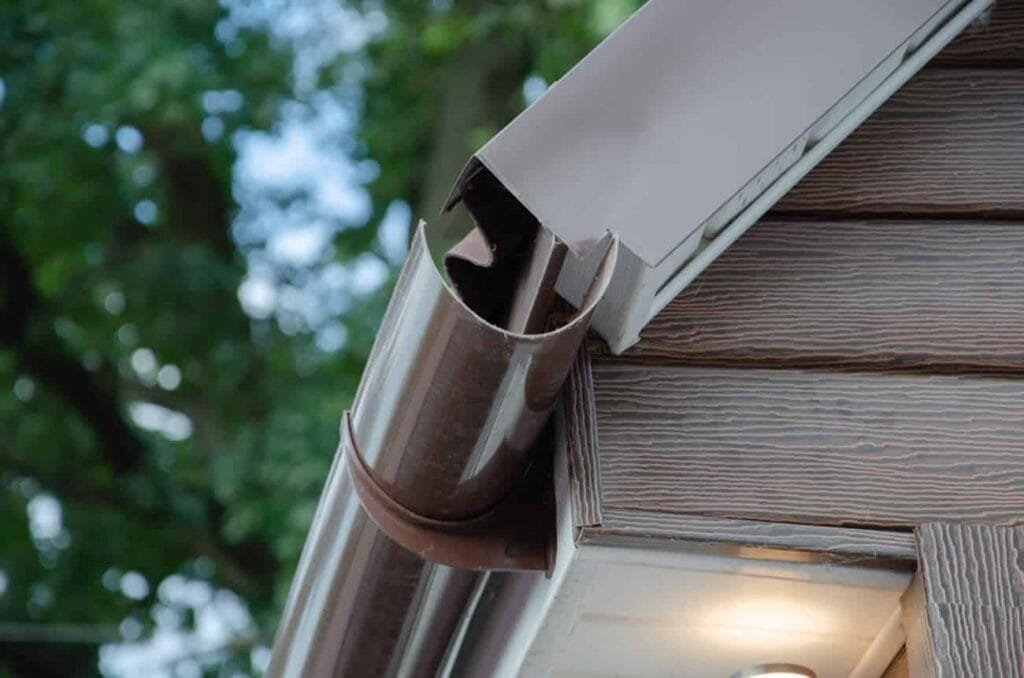
Take a moment to inspect the type of clips or brackets holding the guttering in place. Common types include:
Check for signs of rust, corrosion, or damage that may affect the unclipping process.
Once the clips are loosened, carefully lift the gutter away from its mounts. If the guttering is connected in sections, detach joints or seals as needed. Place removed sections on a soft surface (e.g., a tarp) to avoid scratches or cracks.
If cleaning is your goal, remove debris, dirt, or moss from the gutters using gloves or a gutter scoop. Flush out remaining particles with a hose. If inspecting, check for cracks, holes, or other damage that may require repair or replacement.
To make the process smoother and safer, keep these tips in mind:
Steer clear of these common pitfalls when unclipping plastic guttering:
While DIY repairs work for minor issues, some situations require professional expertise:
For Auckland homeowners, companies like [insert local company name] offer reliable gutter services. Their teams are equipped to handle everything from simple fixes to complete installations.

A: Yes, basic unclipping is manageable for beginners. However, if you’re uncomfortable working at heights or dealing with complex issues, it’s best to hire a professional.
A: If a section breaks, assess whether it can be repaired with sealant or needs replacement. Damaged sections should be replaced promptly to avoid further issues.
A: Aim to clean your gutters at least twice a year—before autumn and after winter. Schedule annual inspections to catch small issues early.
Unclipping plastic guttering is a manageable task for most homeowners, provided you have the right tools, techniques, and a bit of patience. Regular maintenance ensures your gutters continue to protect your home from Auckland’s unpredictable weather. By following the steps outlined in this guide, you can safely remove and reinstall your gutters to address cleaning, repairs, or upgrades.
If you’re unsure about tackling this project alone, don’t hesitate to reach out to trusted professionals in Auckland. They’ll ensure your gutters are unclipped, cleaned, or replaced efficiently and effectively.
Start by inspecting your plastic guttering today—or contact a local expert like us for assistance. Share your experiences or questions in the comments below—we’d love to hear from you!
WhatsApp us