
How to Install Gutter Brackets
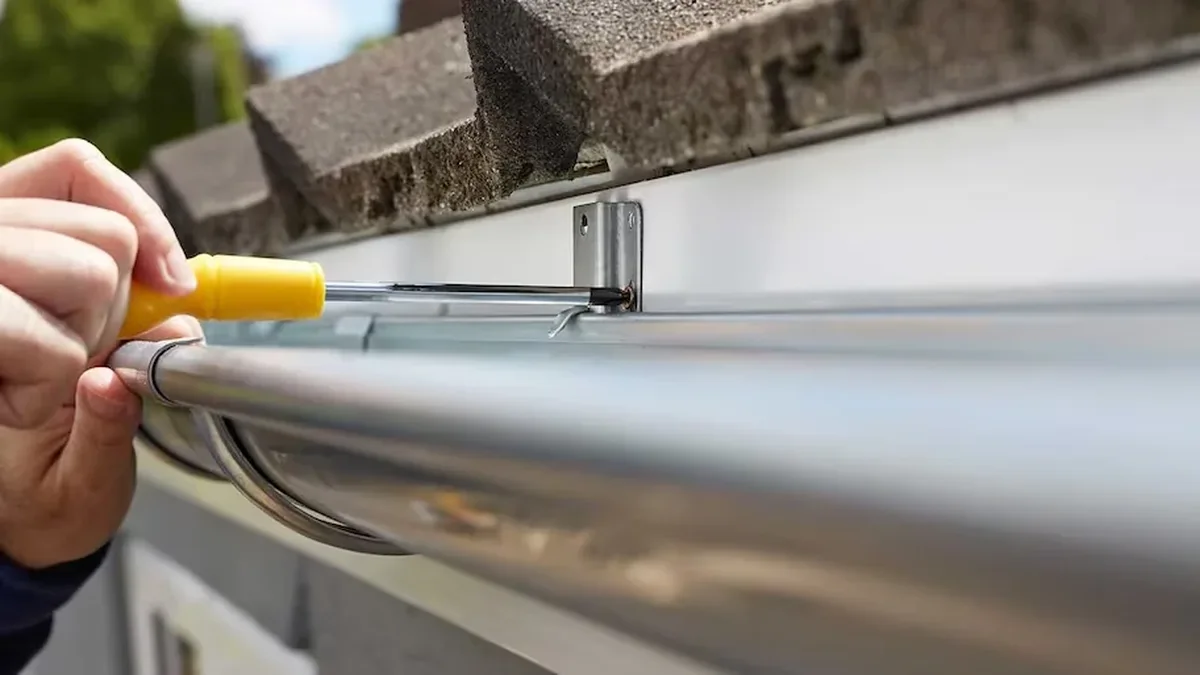
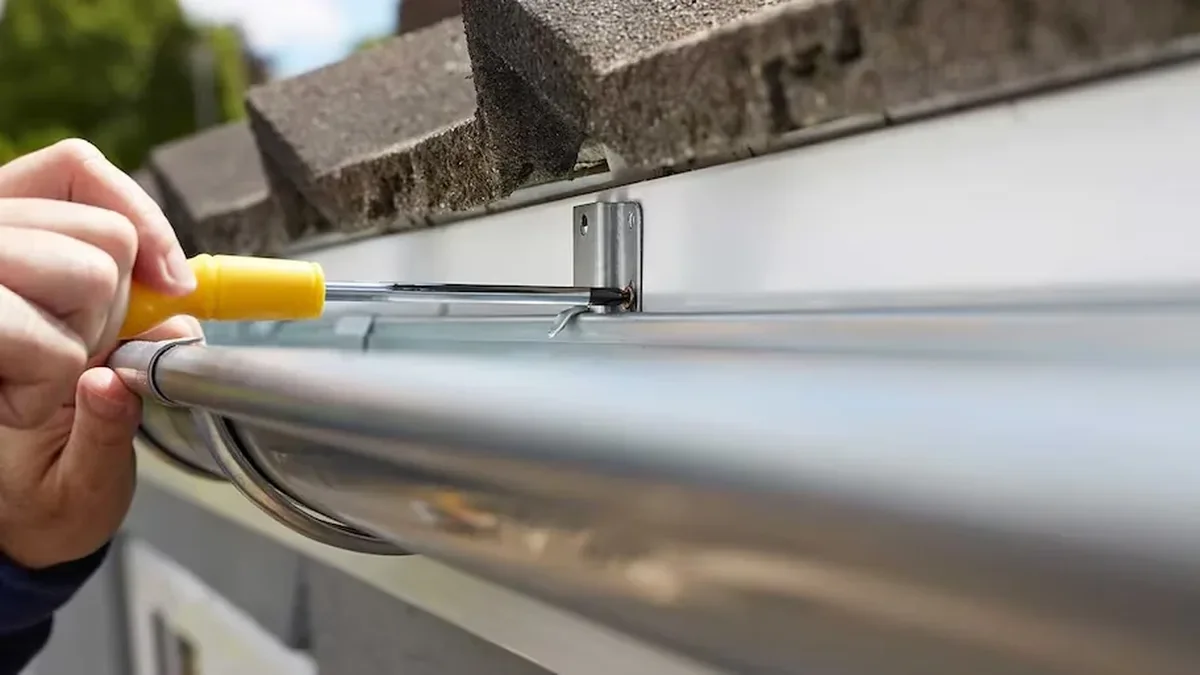
Quick answer: To install gutter brackets, mark the line with the fall towards the outlet, drill pilot holes into sound fascia or rafter ends, fix each bracket at the manufacturer’s spacing, refit the gutter and test it with water. Gutter hangers do the same job, so use the type and spacing your system specifies.
Gutter brackets, often called hangers, hold the gutter on the fascia and decide whether it keeps its fall or sags. Installing them well is mostly about a straight line, sound timber and the right spacing, rather than special tools.
This guide covers installing gutter brackets and hangers together, as used in NZ gutter installation: the types, the steps, the spacing rule, the problems to check for first and when to call a professional on your project.
What is the difference between gutter brackets and gutter hangers?
Gutter brackets and gutter hangers do the same job, which is to hold the gutter at the right height and fall, and the two names are used for different fittings depending on the gutter system. The type you need is set by your gutter and your fascia.
| Type | How it fixes | Where it is used |
|---|---|---|
| Fascia bracket | Screws through the fascia, with the gutter resting in or clipping to the bracket | Most houses with a sound fascia board |
| Rafter-end bracket | Fixes to the rafter ends or to a sound structure behind the fascia | Where the fascia is not strong enough to carry the gutter |
| Clip-in bracket (gutter clips) | The gutter clips into the bracket without screws through the gutter | Many PVC systems, which are designed around their own brackets |
| Hanger or strap | Holds the gutter from inside or above and fixes to the fascia or roof edge | Systems whose manufacturer specifies hangers |
Check the instructions for your gutter system, because the manufacturer lists which brackets or hangers are approved for it.
What tools and materials do you need to install gutter brackets?
You need the brackets for your system, fixings that suit the fascia and a few basic tools.
- The brackets or hangers: the type approved for your gutter system.
- Fixings: corrosion-resistant screws of the type the manufacturer specifies.
- A drill and driver: with a bit for the pilot holes.
- A string line, level and pencil: to set a straight line with the right fall.
- A tape measure: to space the brackets evenly.
- Safety gear: gloves, goggles and a stable ladder, set up as the WorkSafe guidance under Sources describes.
How do you install gutter brackets step by step?
Installing gutter brackets takes six steps, and the line you mark in step one decides whether the gutter drains. Work on a dry day with a helper, and follow the manufacturer’s instructions where they differ from this guide.
- Inspect the fascia and mark the positions. Check the fascia for soft or rotten timber, then mark the high and low ends of the run and snap a line between them so the gutter falls towards the outlet.
- Drill pilot holes. Drill into sound fascia or the rafter ends at each marked position. Pilot holes stop the timber splitting.
- Align the brackets. Hold each bracket to the line so that the gutter will sit at a consistent height and fall, and check with a level where the system allows.
- Fix each bracket. Drive the fixings home until the bracket is firm, without crushing the timber or distorting the bracket.
- Refit the gutter. Lift the gutter into the brackets or clip it in, section by section, and make sure that joints and corners sit on a bracket or close to one.
- Test. Run a hose into the high end and watch that the water falls to the outlet, that nothing stands in the channel and that the brackets do not move under load.
How far apart should gutter brackets be?
Gutter brackets should be spaced as the gutter manufacturer specifies, because the right distance depends on the material, the profile and the load. Closer support is used where wind, heavy rain or debris adds weight, and joints, corners and outlets need firm fixing close by.
Our guide to how far apart gutter hangers should be explains what decides the spacing and how to check the brackets you already have.
What should you check before you fix new brackets?
Check the fascia and the roof edge first, because brackets only hold in sound timber and a gutter that sits in the wrong place will not drain.
| Check | Why it matters |
|---|---|
| Fascia condition | New brackets will not hold in soft or rotten timber, so repair or replace it first |
| Old fixings | Remove old screws and sealant so the new brackets sit flush |
| Roof edge position | The gutter must sit under the edge of the roof so water lands in it, not behind it |
| The fall | The run must fall towards the outlet or the downpipe, or water will stand |
If the fascia is damaged, see the guide on repairing sagging gutters.
What goes wrong with gutter brackets?
Most bracket problems come from too few brackets, soft fascia or a wrong fall, and each one shows up as a sagging, overflowing or leaking gutter.
- Too few brackets: the run bows between supports and holds water.
- Soft fascia: fixings pull out, and the gutter slowly drops.
- A wrong fall: water stands in the channel or runs the wrong way.
- Overtightening: crushes the timber or distorts the bracket and the gutter.
- Mixed systems: brackets from a different system may not hold the profile properly.
When should you call a professional?
Call a professional when the gutter is high, the fascia is soft or damaged, or the gutter keeps sagging after you have fixed new brackets, because the fault is then in the structure or the fall.
Our gutter re-alignment service re-sets the fall and the supports, and our gutter repair service can replace damaged brackets and fascia sections.
Sources and further reading: WorkSafe: working at height · Building Code clause E1 – surface water (building.govt.nz) · Building Code clause E2 – external moisture (building.govt.nz)
Related guides: how gutters are attached · gutter slope and water damage
Conclusion
Gutter brackets and hangers work when they are fixed to sound timber along a straight line with the right fall, at the spacing your manufacturer gives. If the fascia is soft or the gutter keeps sagging, My Homes Construct Ltd offers a free written quote for your project.
Frequently Asked Questions
How many gutter brackets do I need?
It depends on the gutter system and the load, so follow the manufacturer’s specification for the spacing. Joints, corners and outlets also need firm support close by.
Are gutter hangers and gutter brackets the same thing?
They do the same job of holding the gutter at the right height and fall. The names are used for different fittings in different systems, so check which type your gutter manufacturer approves.
Can I fix gutter brackets into soft or rotten fascia?
No. The fixings will pull out and the gutter will sag again, so repair or replace the soft timber first, then fix the brackets into sound fascia or the rafter ends.
Can I add brackets to a sagging gutter?
Often yes. Adding or replacing brackets can restore the fall if the fascia is sound, but if the gutter keeps sagging, the fall or the fascia needs a professional look.
Gutter Help Across Auckland
If this guide raised a question about your own home, the My Homes Construct Ltd team is here to help. We provide professional gutter cleaning, repair and replacement services right across Auckland — North Shore, West Auckland, Central Auckland, East Auckland and South Auckland — along with the surrounding suburbs.
Every enquiry starts with free, no-obligation advice and a written quote. We're a registered building company and back our work with a workmanship warranty as per your quotation, so you can move forward with confidence.
When to Call a Professional
Plenty of gutter cleaning, repair and replacement tasks are fine to tackle yourself, but it's worth knowing where the line is. If a job involves working at height, structural elements, water getting where it shouldn't, or anything you're not fully confident about, bringing in a professional is usually cheaper than fixing a DIY attempt that didn't hold up.
A good tradesperson also spots the things an untrained eye misses — the early warning signs that turn a small job today into a major repair next winter. If you're in any doubt, a free assessment costs nothing and gives you a clear, honest picture before you commit to anything.
Timing It Right in Auckland
One thing worth keeping in mind with gutter cleaning, repair and replacement in Auckland is how much the seasons shape the right approach. Coastal exposure, humidity and sudden downpours all affect both the work itself and how long the result lasts, so the best time to act isn't always obvious from the kerb.
Booking early in the season also means more flexibility on dates and fewer surprises. We're happy to map out sensible timing with you at no cost, so the job lands when conditions — and your budget — are right.
A Quick Checklist for Auckland Homeowners
Whatever you decide to do next, a few simple principles will save you money and stress on any gutter cleaning, repair and replacement job in Auckland.
- Act early — Auckland's wet, humid climate turns small problems into expensive ones faster than most people expect.
- Get it in writing — a clear, itemised written quote protects you and makes comparing options straightforward.
- Check it's a registered building company — it matters for quality, consent and warranty cover.
- Ask about the warranty — reputable Auckland tradespeople stand behind their workmanship, not just the materials.
- Think long-term value, not just the cheapest price — the lowest quote is rarely the best value once durability is factored in.
Keep these in mind and you'll avoid the most common — and most costly — mistakes we see on Auckland properties.
Need Professional Help in Auckland?
My Homes Construct Ltd provides expert gutter and full home-improvement services across all Auckland suburbs. Get a free, no-obligation quote today.
This guide is published by Auckland construction and home renovation company — a registered Auckland building company covering gutters, roofing, renovation, painting, decks and civil construction.